How to manage your workspace
If you're an admin or manager of your workspace, you can customize it in a few ways. You can change the workspace name and icon, invite people and determine what role they have, make and manage teams within your workspace, and more. Here's how.
Contents
- Where to find the workspace settings
- Update the workspace name, avatar, or URL
- Leave or delete the workspace
- Merge workspaces
- Review and invite who's part of your workspace
- Create, review, and delete the teams in a workspace
- Manage your subscription
Where to find the workspace settings
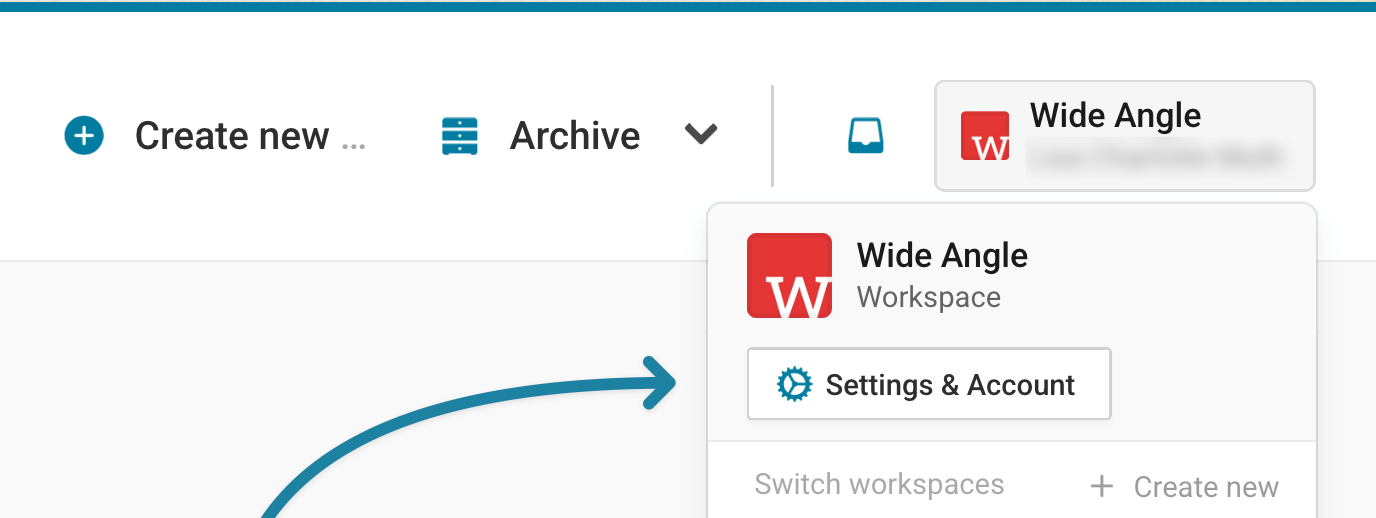
First, log into Datawrapper. Then hover over your workspace name at the top right of the screen, and click on Settings & Account. You can also go directly to app.datawrapper.de/settings/workspace to see the settings of your currently active workspace.
Once you're there, you'll see pages where you can manage your workspace in a menu on the left hand side: Workspace, Members, Teams, and Billing & Plan. Let's take a look at all the options in there.
Update the workspace name, avatar, or URL
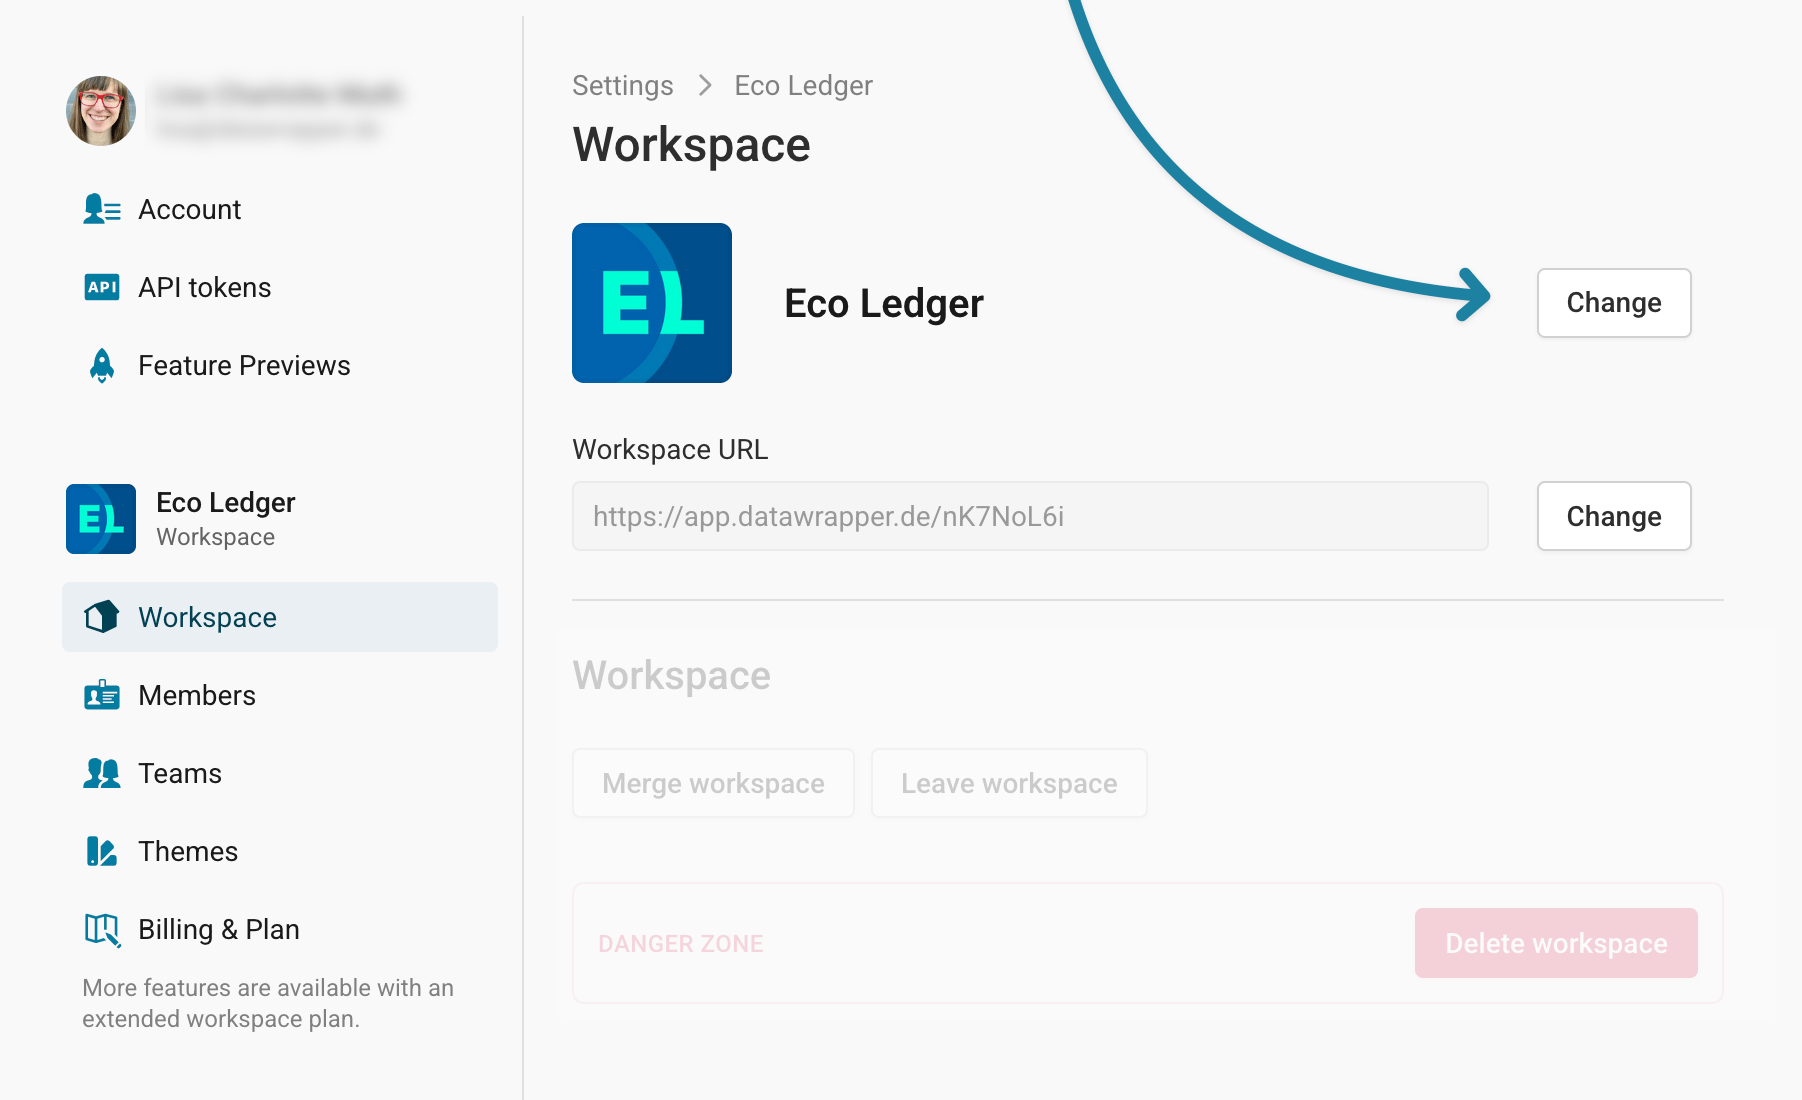
To change the name, avatar, or URL of your workspace, go to app.datawrapper.de/settings/workspace. Make sure Workspace is selected in the menu on the left.
Now click on the first Change button:
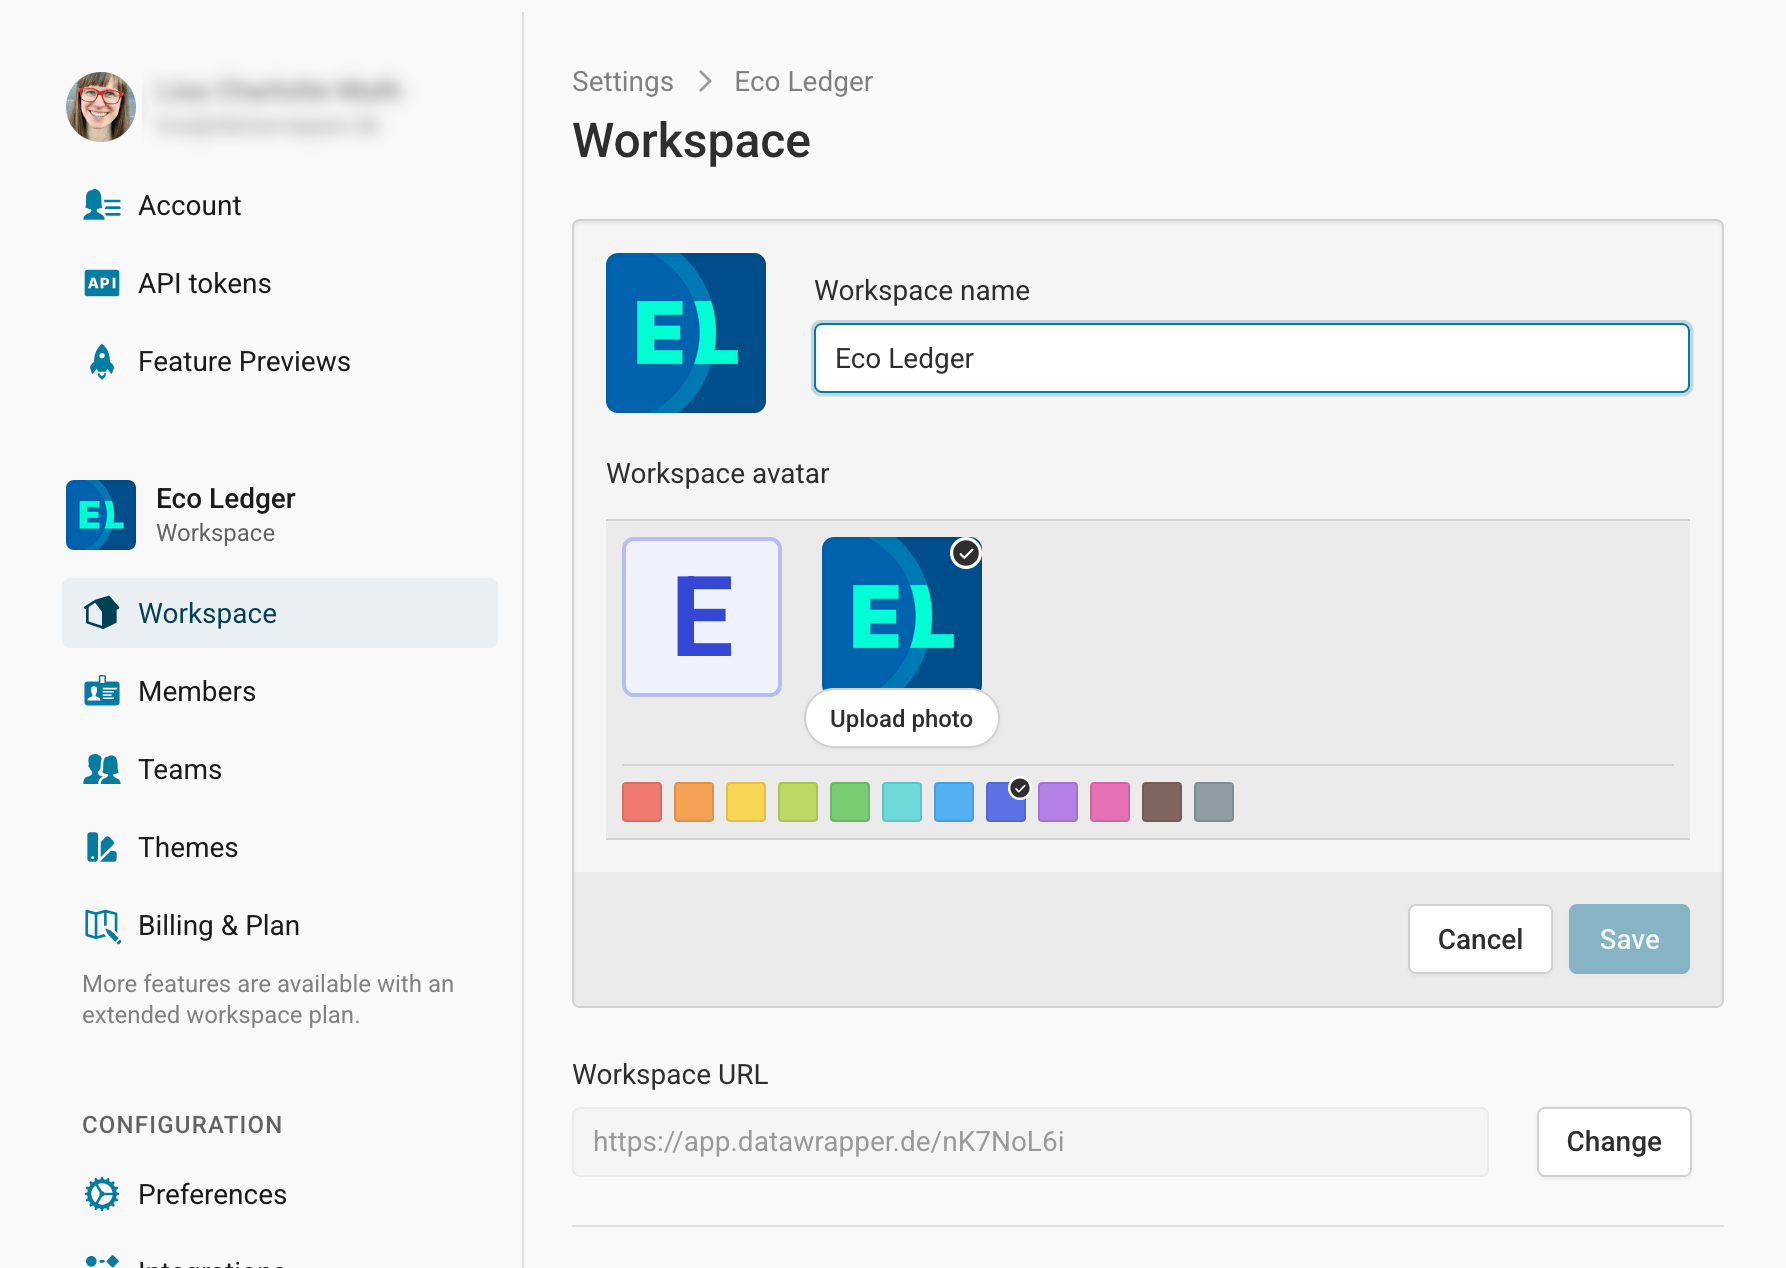
This lets you update the workspace name, avatar, and color. Click on Save once you've made your changes.
Below the option to change the workspace name, you can also edit the workspace URL. Note that the URL can only be changed once every 30 days. If you change the URL, all previous URLs will redirect to the new one.
Leave or delete the workspace
No matter your role in a workspace, you can always decide to leave it on app.datawrapper.de/settings/workspace. Learn more about this here.
If you are a workspace admin, you can delete a workspace. Learn more about this here.
Merge workspaces
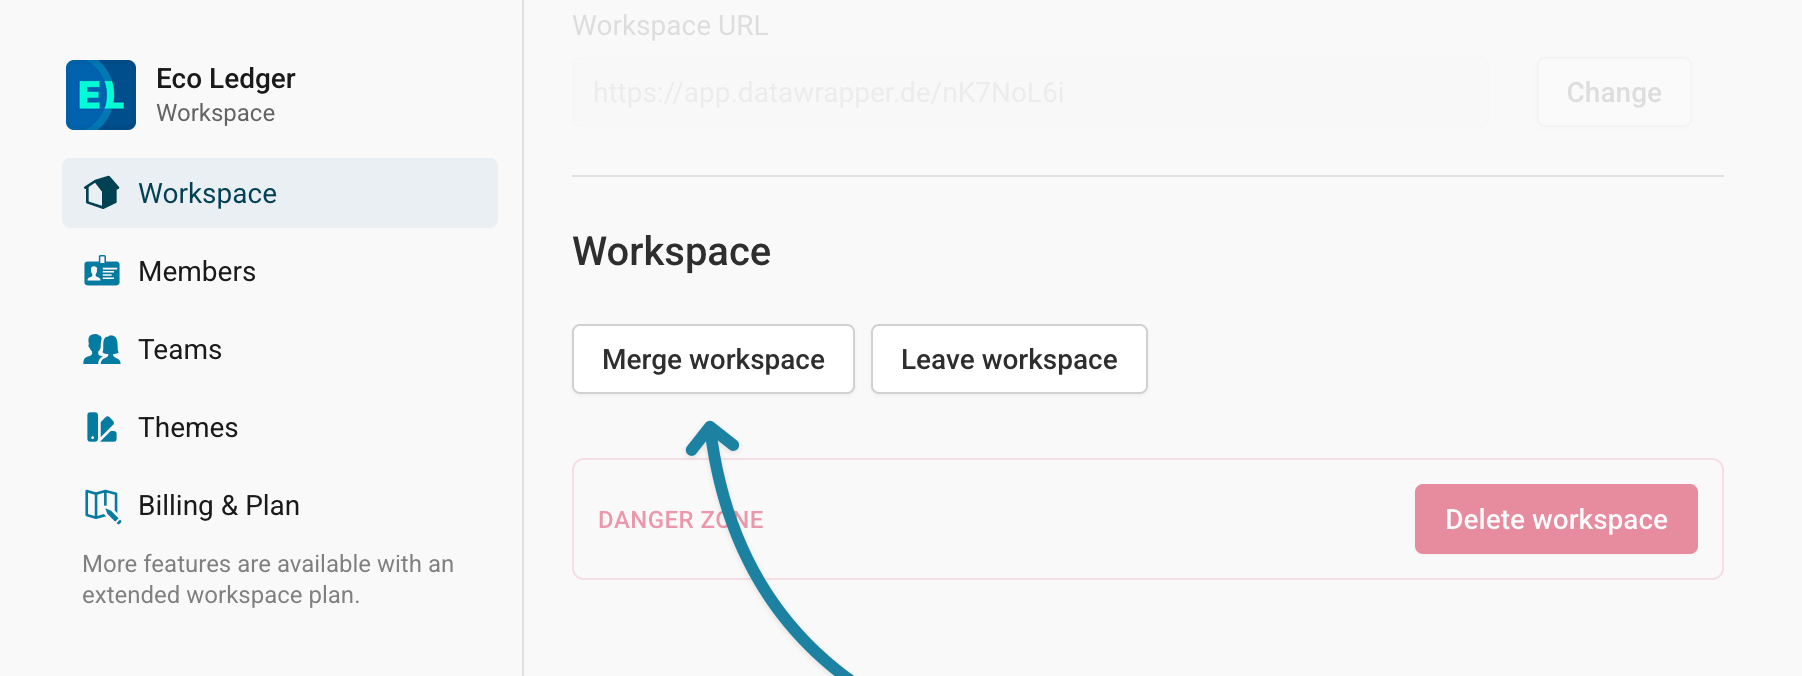
If you are a workspace admin or manager of at least two workspaces, you'll see the option to merge them on app.datawrapper.de/settings/workspace:
After clicking on Merge workspace, select the workspace you want merge all your teams, members, and visualizations into, then click Merge:
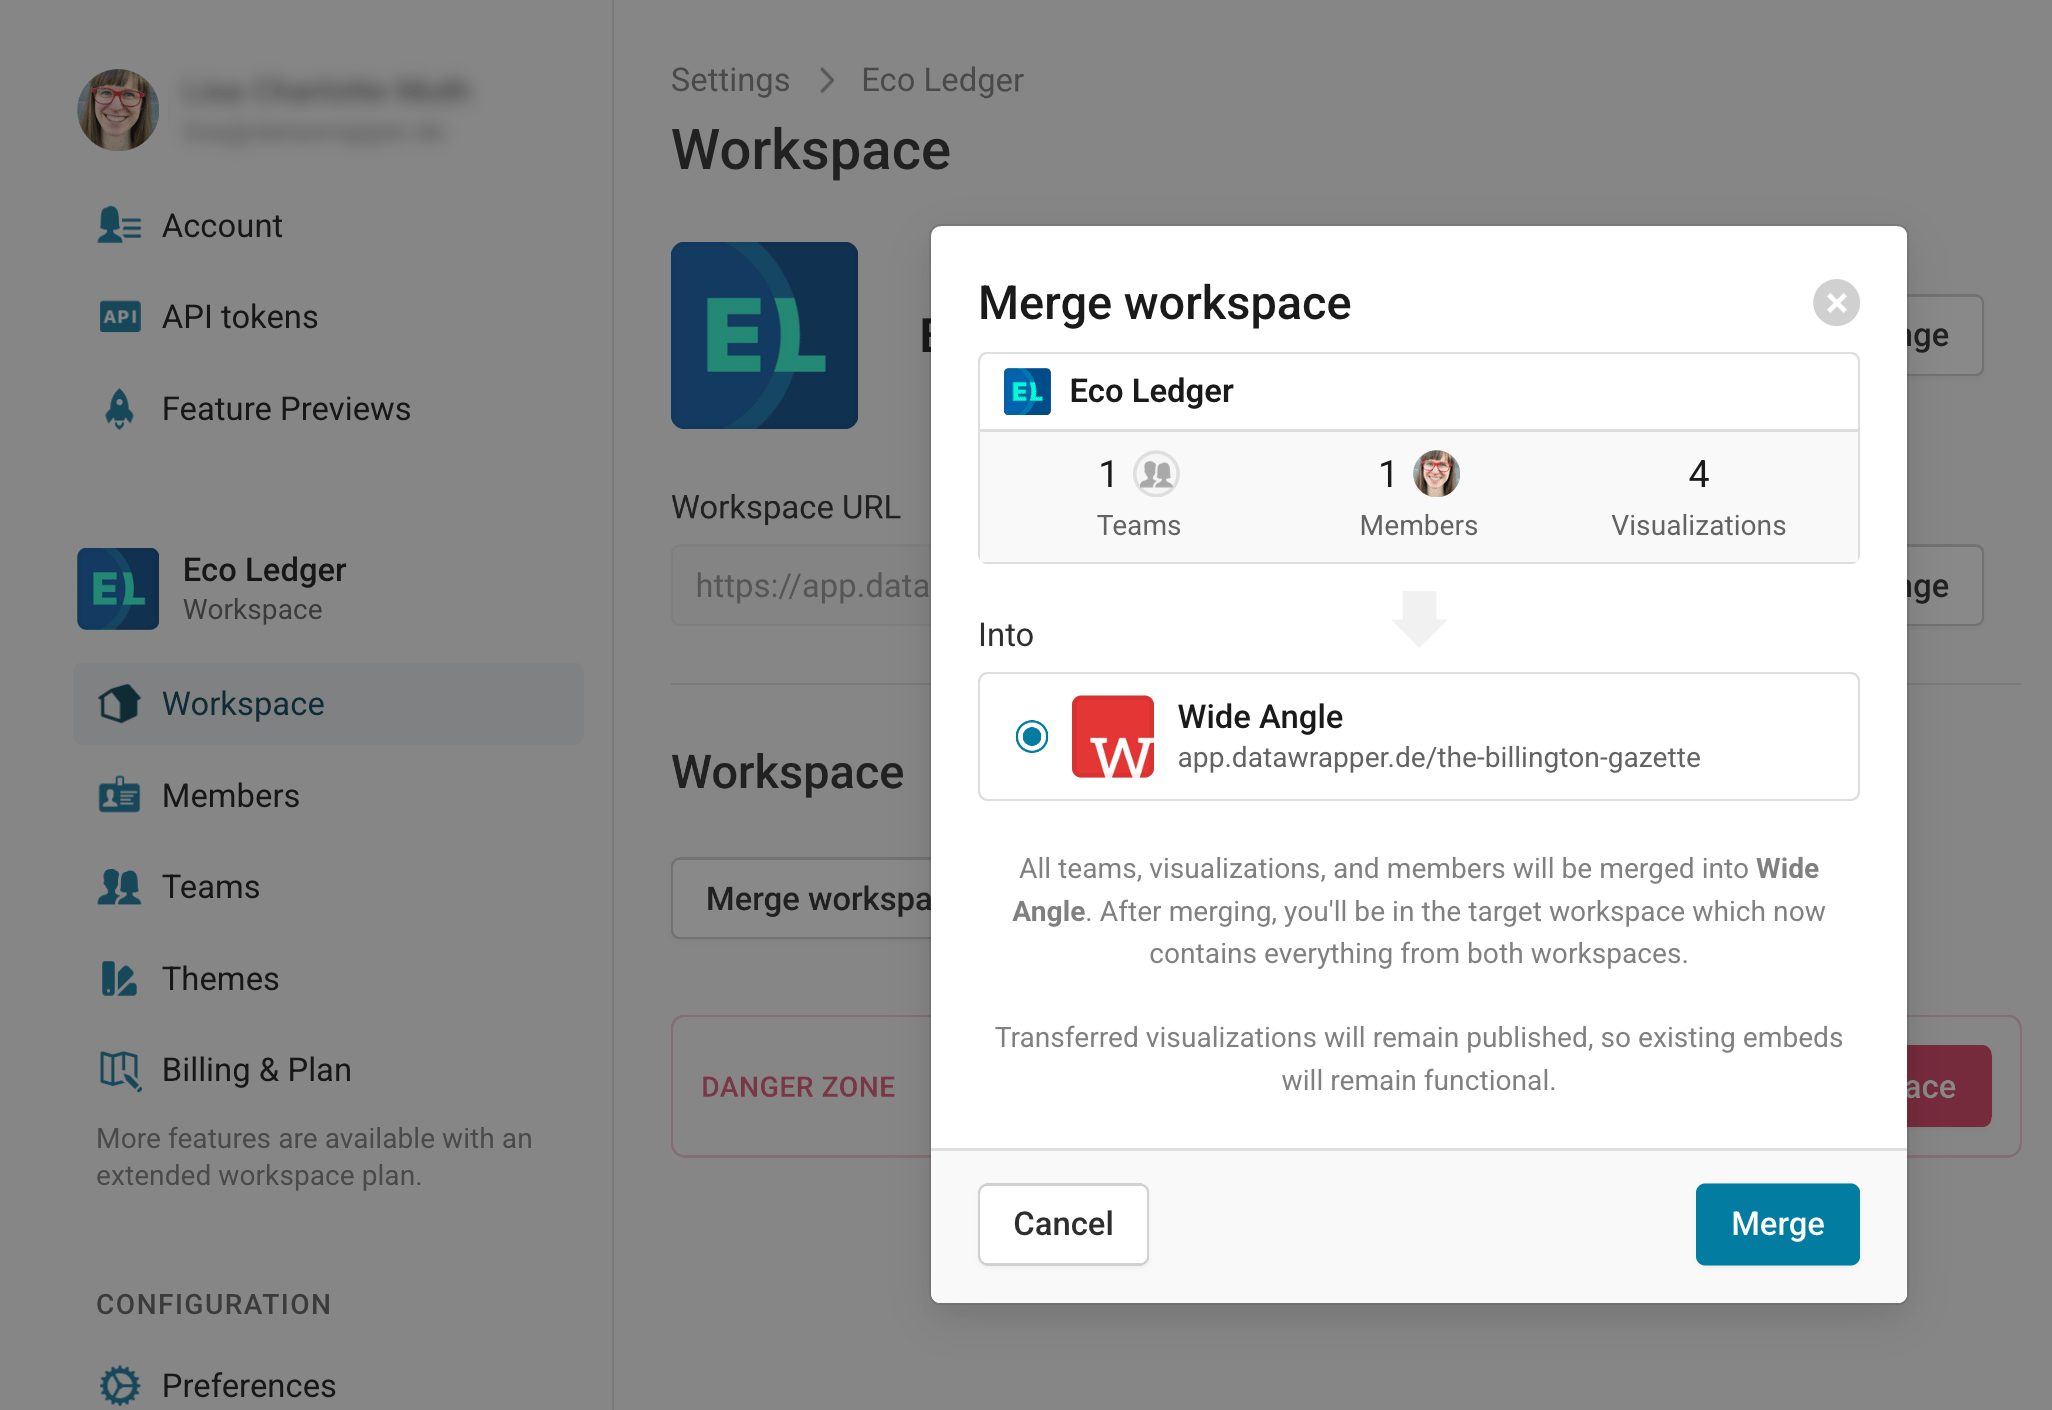
If you choose to merge a workspace into another one, transferred visualizations will remain published, so existing embeds will remain functional. After merging, you'll be in the target workspace which now contains everything from both workspaces.
Review and invite who's part of your workspace
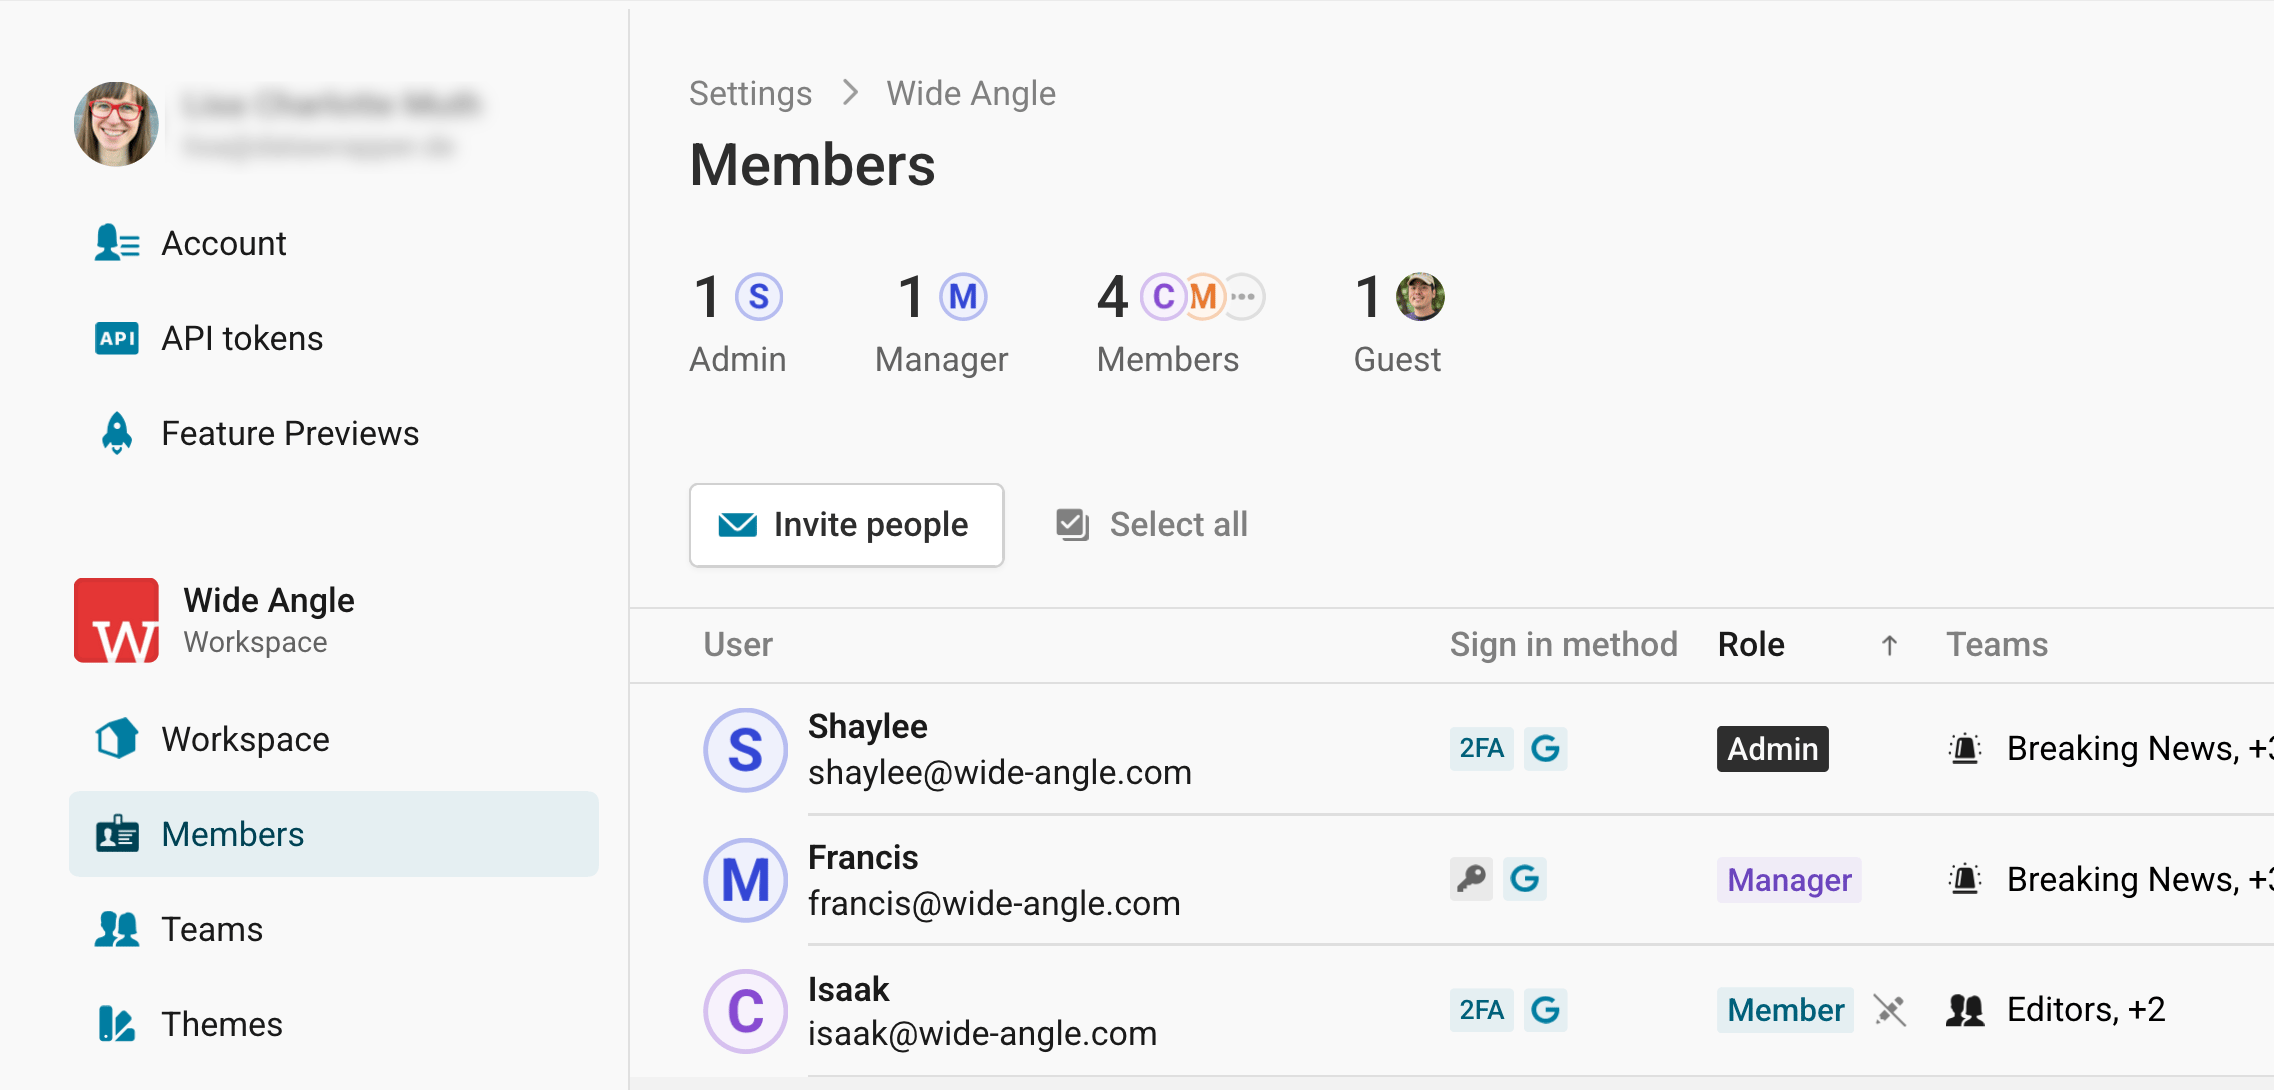
On the Members page, you can review the users who are in your workspace, as well as their role, what team(s) they're in, and their activity.
To learn more about inviting people to your workspace, read our article How to add members to a workspace.
Create, review, and delete the teams in a workspace
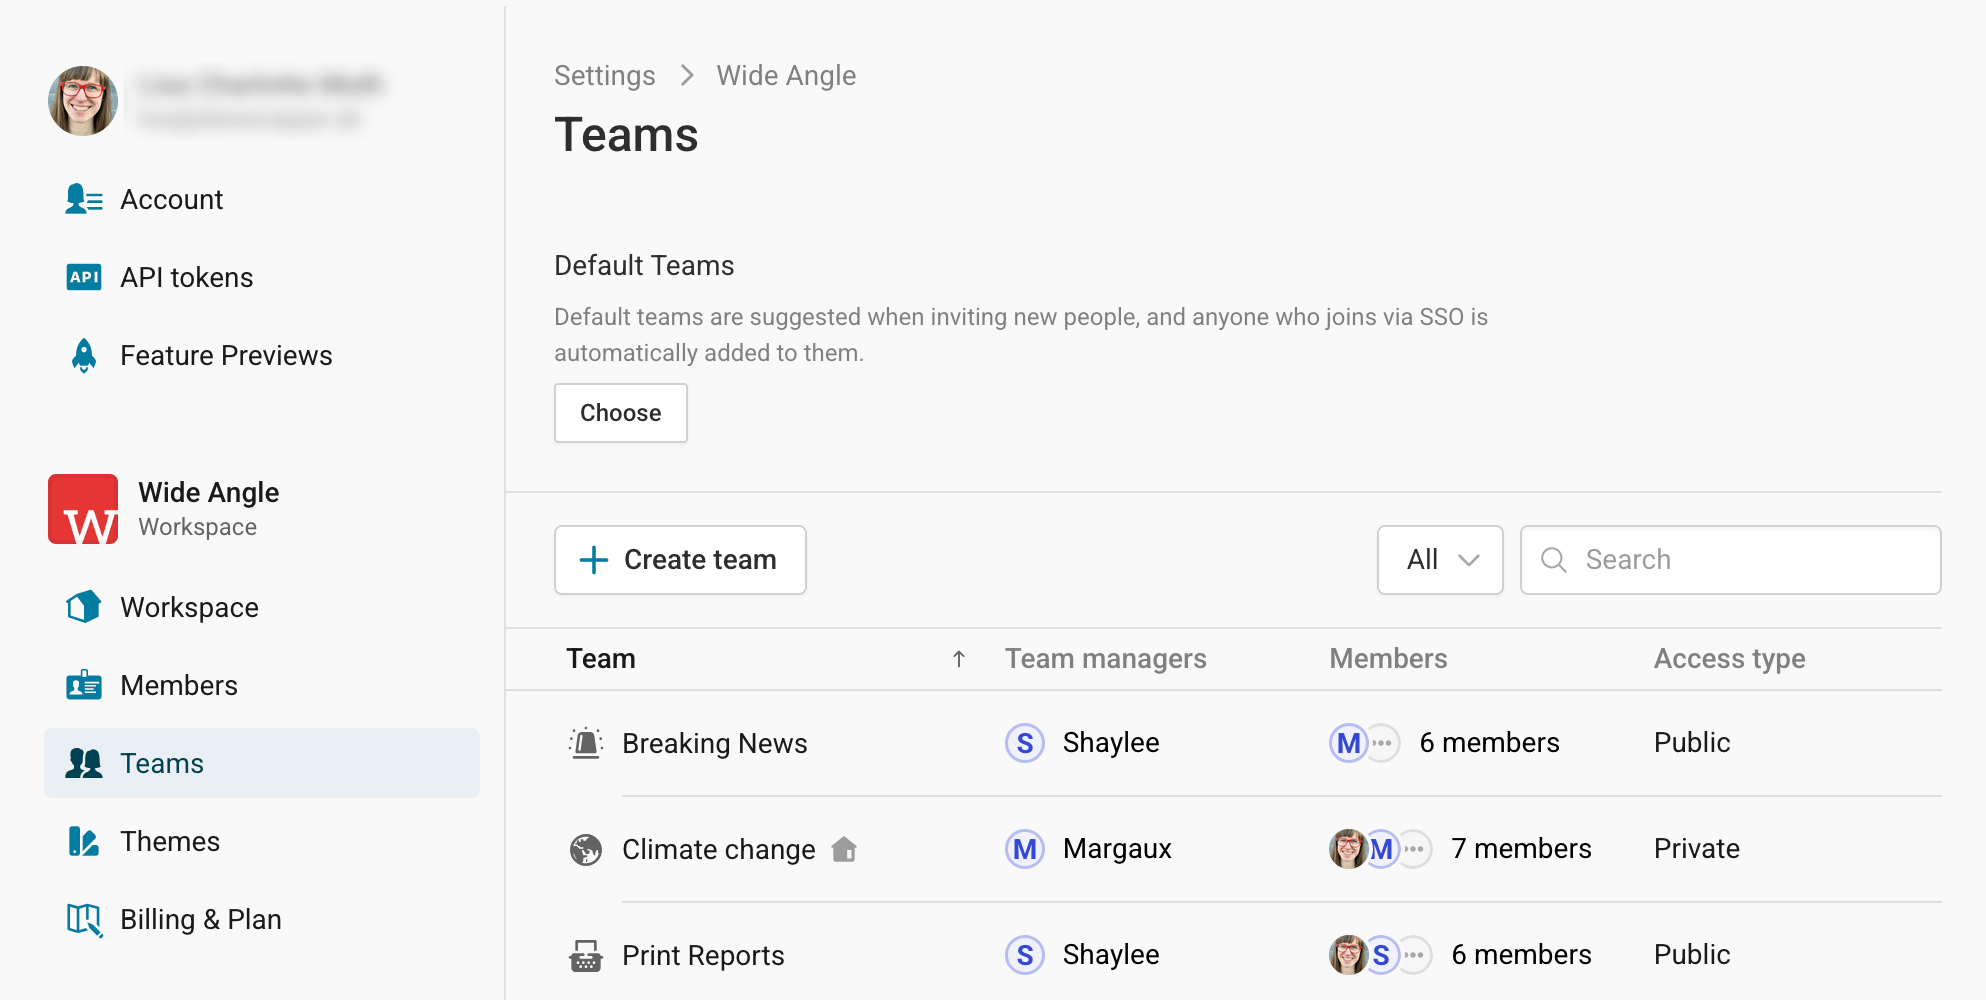
On the Teams page, you'll see an overview of the teams within your workspace. In this list, you'll see who the team's managers and members are, as well as whether that team is public or private.
Public teams can be joined at any time, by any workspace member, from the archive or workspace settings. Private teams require an invitation from a team manager to join.
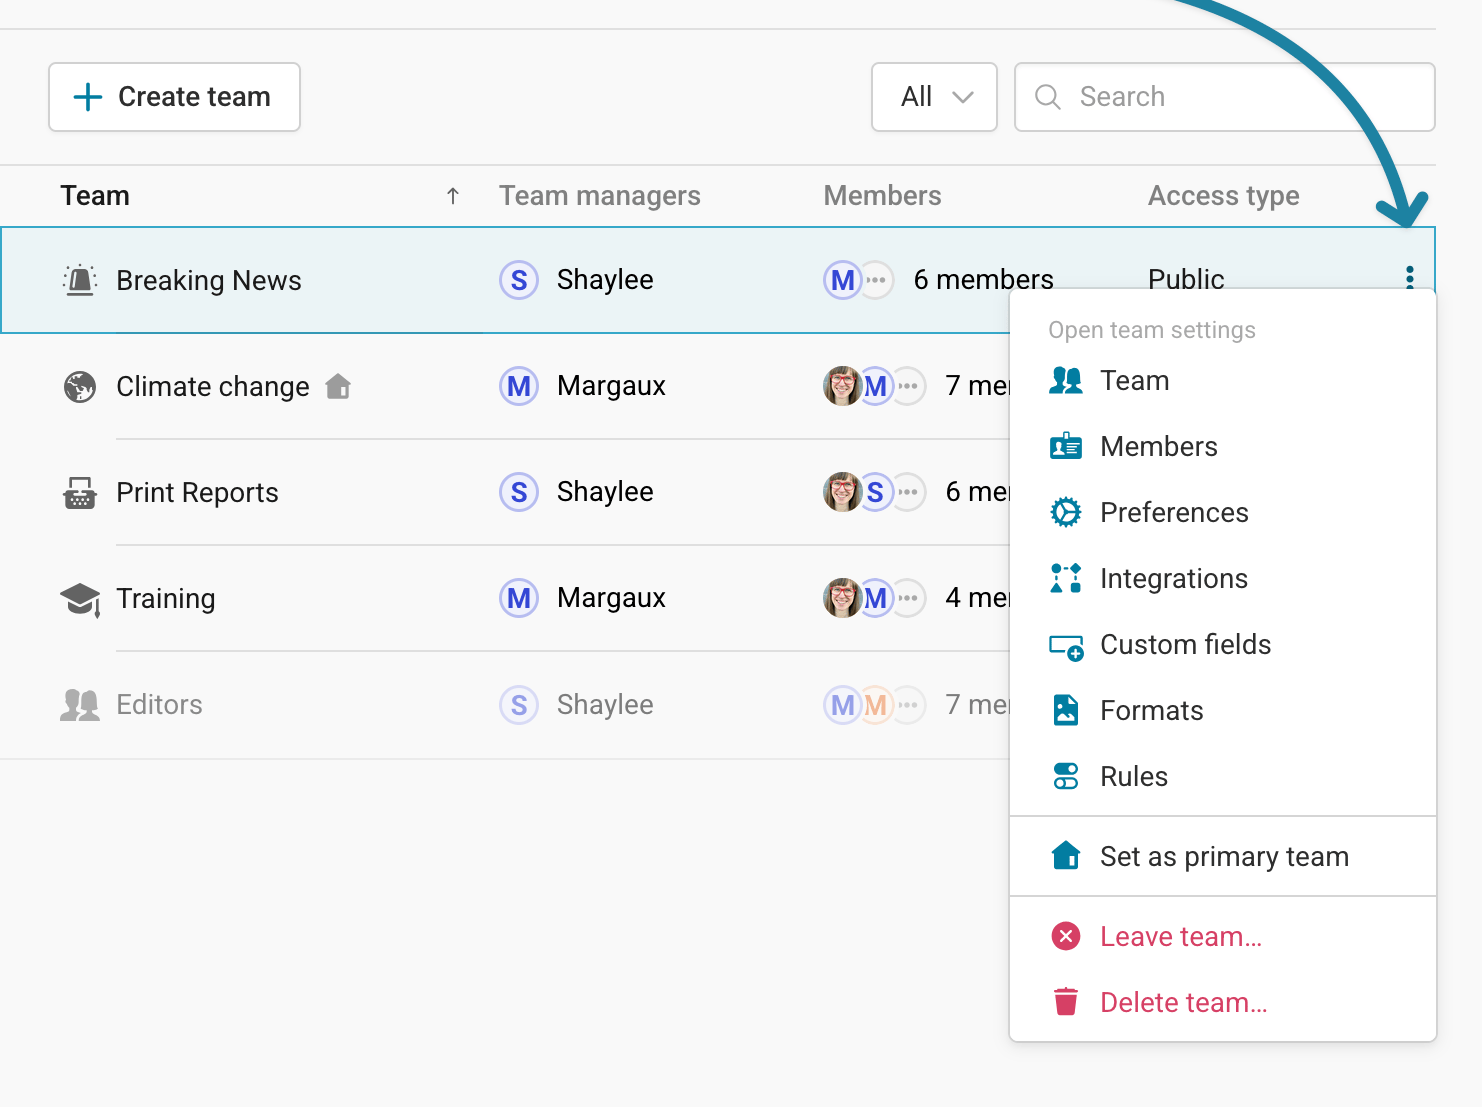
Here, you can also access settings related to a specific team, as well as leave or delete a team. To do so, hover over or click on the relevant team, and then click the three dot icon on the right hand side.
Manage your subscription
On the Billing & Plan page, you can manage your Datawrapper subscription. If you're on the Free plan, you can see an overview of our paid plan options, and upgrade based on your currency and payment terms to get access to paid plan features here.
If you're part of a workspace that already uses the Custom or Enterprise plan, you can access the billing history and manage details like billing address, contacts, and payment methods.

Beyond those options, you'll see more pages under the Configuration header. These are pages where you can customize options specifically relating to visualizations. We'll cover those in extra articles:
- Preferences determine how visualizations look by default;
- Integrations allow you to set up notifications for publishing (for example, in Slack and Microsoft Teams);
- Settings for Custom & Enterprise features like Custom fields, Formats, Hosting, and Single Sign-On.