How to import markers into locator maps
This article explains how to import point, area, and line markers. If you want to add markers without importing, visit "How to add and delete point markers" and "How to add regions as area markers."
You can import point, area, and line markers to Datawrapper locator maps. This article explains the requirements for those files, and how to import them.
Contents
- Importing files into Datawrapper
- Prerequisites for all kinds of markers
- Prerequisites for point markers
- Prerequisites for arrow markers
- How to keep your map loading quickly
Importing files into Datawrapper
There are three ways to get your files into your locator map. Make sure you're in step 1: Add markers for all of them.
The first option is to simply drag them in there, like in the video above.
The second option is to select which kind of marker you want to add – point, area, line, or arrow – then click on the little upload button in the bottom right corner and choose the file from your computer.
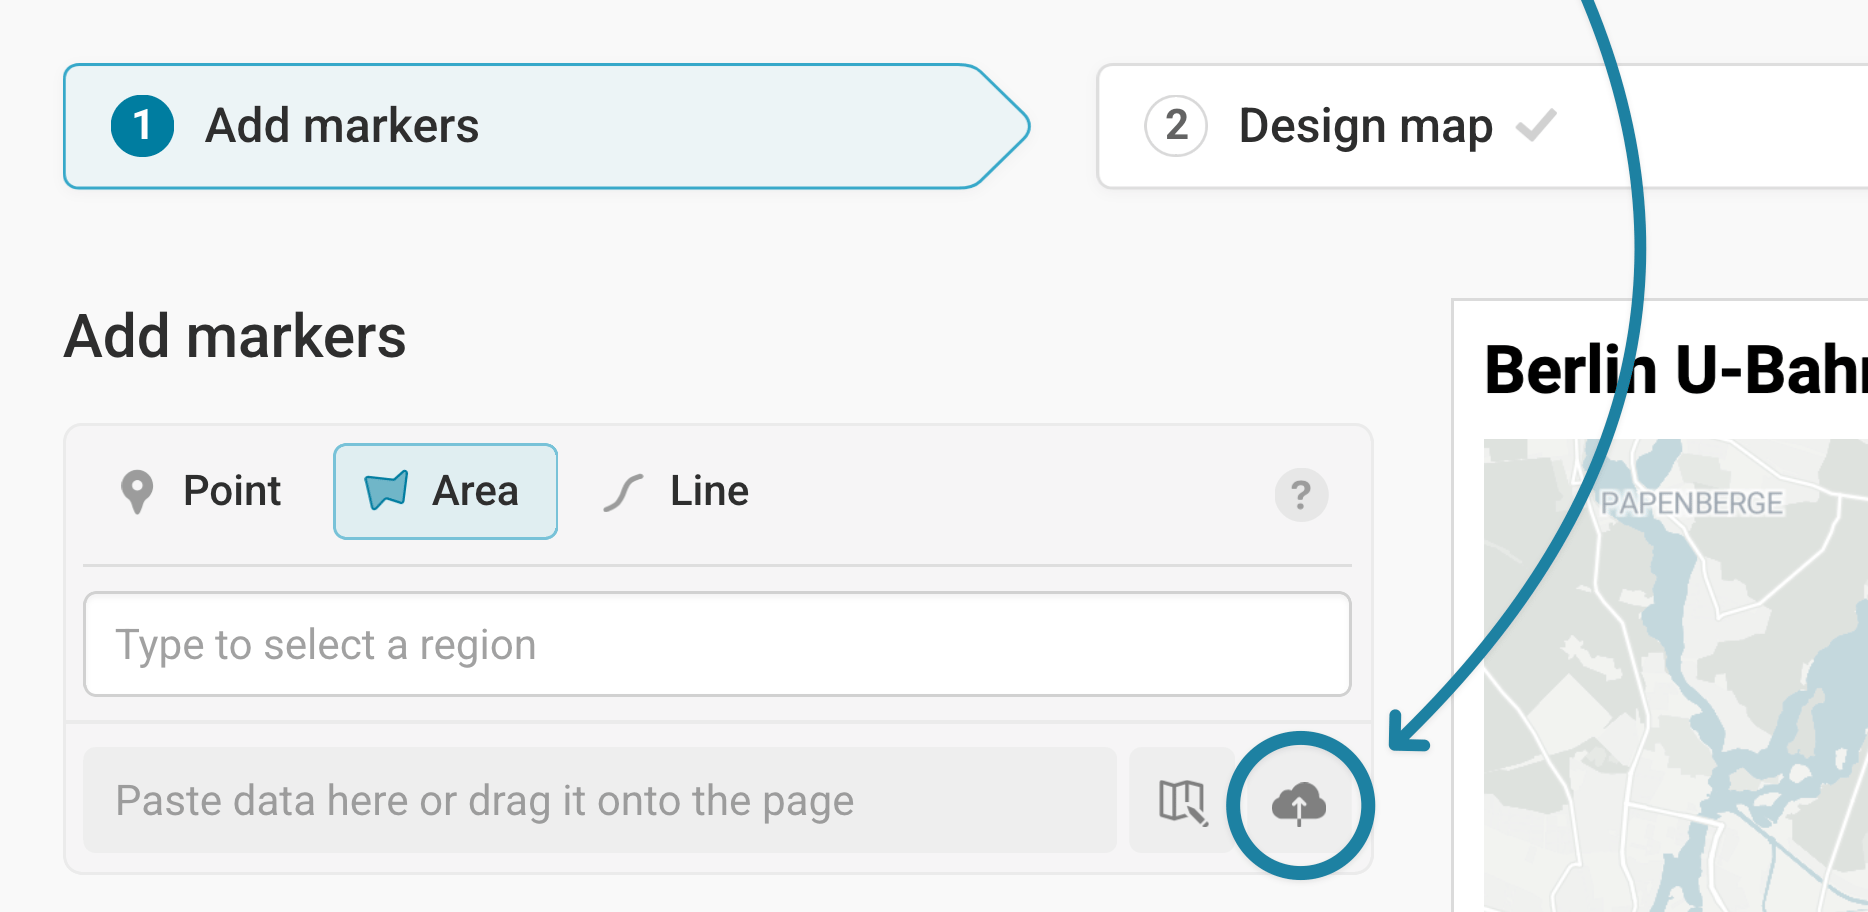
The third option is to paste data into the text field that says Paste data here or drag it onto the page. You can paste the content of any file specific in the beginning of the article. You can even paste data directly from Excel or Google Sheets:
Prerequisites for all kinds of markers
You can successfully import a file into a Datawrapper locator map if it:
- Is a GeoJSON, CSV, GPX or KML file.
- Is smaller than 2MB. You can upload files up to 10MB in size, but the markers they result in (after Datawrapper removes e.g. the CSV columns irrelevant to the marker) plus the existing markers on the map have to be less than 2MB. The larger your file, the longer it takes for your map to load for both viewing and editing. Try to keep it as small as possible.
- Includes coordinates.
- Uses the WGS-84 coordinate system (EPSG:4326), if you import GeoJSON, GPX or KML.
- Has fewer than 20 differently styled features. Learn how to style your markers before importing them to Datawrapper here.
You can import lines, areas, and points together in one geo data file.
Prerequisites for point markers
You can import point markers with a CSV, GeoJSON, GPX or KML file. The easiest way is to use a CSV. All you need are two columns – one for the longitudes (called lon, lng, longitude, or y) and one for the latitude (called lat, latitude, or x).
You can also customize your markers before importing them, but it's not necessary. Here's an example of a valid CSV:
lon,lat
6.725654,7.202151
12.810290,11.7662530
-0.8427773,12.839212
You map can only have 500 point markers in total, so you can't upload files with more than that.
Prerequisites for arrow markers
You can import arrows either as a CSV or a GeoJSON.
If you're preparing a CSV, make sure it has the following columns (they don't need to be in that order): arrow_start_lon, arrow_start_lat, arrow_end_lon, arrow_end_lat
They define the coordinates (lat and lon) of both the start of the arrow and the end of the arrow. Here's an example:
arrow_start_lon,arrow_start_lat,arrow_end_lon,arrow_end_lat
4.8897,52.3740,13.4050,52.5200
2.3522,48.8566,9.1900,45.4642
18.0686,59.3293,23.7275,37.9838
If you're preparing a GeoJSON, use a LineString with two coordinate points and set “type”: “arrow” in the properties. If you want to import a lot of arrows, you can also use a MultiLineString that has 1+ lines with two coordinate points. Here's an example:
{
  "type": "FeatureCollection",
  "features": [
    {
      "type": "Feature",
      "properties": {
        "type": "arrow"
      },
      "geometry": {
        "coordinates": [
          [-0.1276, 51.5074],
          [13.4050, 52.5200]
        ],
        "type": "LineString"
      }
    }
  ]
}
Note that in the same CSV or GeoJSON, you can also upload other marker types. You can, for example, add lat and lng columns in your CSV and add coordinates in those columns that would be shown as point markers after importing the file to Datawrapper.
How to keep your map loading quickly
If you upload GeoJSONs that are very big or that have many different markers, your map will be slower for both you (in the editing process) and your readers (when they view the website where you embedded the map).
There are a few ways to make sure your map stays performant:
- Group your markers together to reduce their number. Learn more in our article "How to group area markers before importing them."
- Style multiple lines or areas in your geo file in the same way before importing them to Datawrapper. If you do so, they get imported as one marker. Learn more in our article "How to style your markers before importing them to Datawrapper."
- Reduce the file size by simplifying your geometry. To do so, go to mapshaper.org, upload your GeoJSON, then click the "Simplify" button in the upper right, followed by "Apply." Drag the slider at the top as far to the right as you can while the geometry still looks good enough. The displayed percentage tells you how much of the data size is left. Typically you can go down to 10-15% without noticing a big difference. When you're done, click "Export," select GeoJSON, and re-upload the data to Datawrapper.
- Reduce the file size by removing information. When you import a GeoJSON, all features in it are imported and count toward your map size, so it's worth removing any properties you don't need beforehand. (When importing point markers via CSV, Datawrapper only uses the relevant columns – lat/lon, title, tooltip, etc. – and discards the rest, so there's little point in cleaning up.)
Frequently Asked Questions
Datawrapper doesn't let me import my file because it's too big. What can I do?
Simplify the geometry of your geo file to reduce its file size. To do so, go to mapshaper.org, upload your GeoJSON, then click the "Simplify" button in the upper right, followed by "Apply." Drag the slider at the top as far to the right as you can while the geometry still looks good enough. The displayed percentage tells you how much of the data size is left. Typically you can go down to 10-15% without noticing a big difference. When you're done, click "Export," select GeoJSON, and re-upload the data to Datawrapper.
No matter which file type you upload, you can also try to remove data from your file. When you import a GeoJSON, all features in it are imported and count toward your map size, so it's worth removing any properties you don't need beforehand. (When importing point markers via CSV, Datawrapper only uses the relevant columns – lat/lon, title, tooltip, etc. – and discards the rest, so there's little point in cleaning up.)
I imported a GeoJSON with multiple lines/areas, but they appear as one marker in Datawrapper. Why?
Datawrapper shows all lines/areas with the same stying properties (like "color") as one marker. For example, if two of your imported metro lines both the property "color":"red", they'll show up as one marker in your locator map.
If you want to import individual metro lines (to then style them individually in Datawrapper), you need to give them different properties before importing them. For information on how to do so and a list of supported property names, visit the article: "How to style your markers before importing them to Datawrapper."
Here's an example. Let's say we want to import this GeoJSON:
{
   "type":"FeatureCollection",
   "features":[
      {
         "type":"Feature",
         "properties":{
            "size":15.68,
            "title":"U6",
            "stroke":"#7d6ca7"
         },
         "geometry":{
            "type":"LineString",
            "coordinates":[
               [
                  13.3876195,
                  52.43965
               ],
               [
                  13.326246,
                  52.5635095
               ]
            ]
         }
      },
      {
         "type":"Feature",
         "properties":{
            "size":18.18,
            "title":"U8",
           "stroke":"#ca4f1c"
         },
         "geometry":{
            "type":"LineString",
            "coordinates":[
               [
                  13.4312136,
                  52.467777
               ],
               [
                  13.3358152,
                  52.5956442
               ]
            ]
         },
         "id":7
      },
      {
         "type":"Feature",
         "properties":{
            "size":20.65,
            "title":"U2",
            "stroke":"#ca4f1c"
         },
         "geometry":{
            "type":"LineString",
            "coordinates":[
               [
                  13.4116062,
                  52.5667564
               ],
               [
                  13.3358152,
                  52.5956442
               ]
            ]
         }
      }
   ]
}
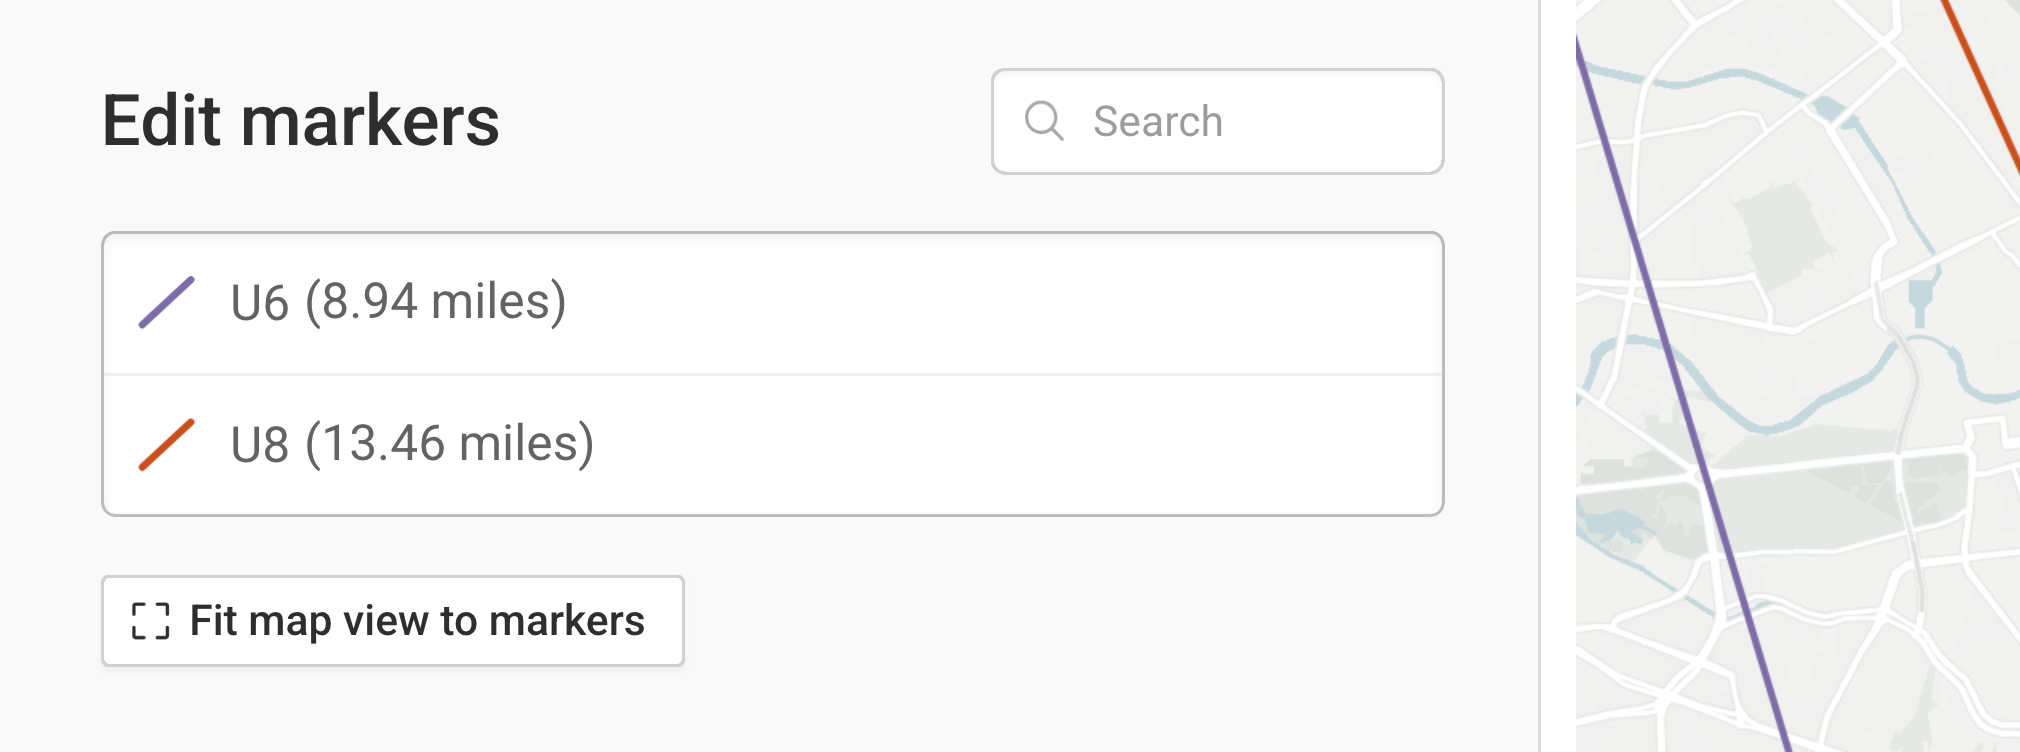
The U2 and the U8 have the same stroke color ("stroke":"#ca4f1c"). Once imported to Datawrapper, they show up as one single line marker called U8:
Can my GeoJSON include additional properties?
Yes. It's ok if your GeoJSON includes additional random, unsupported properties, like this one that shows the metro lines in Shanghai as of 2016:
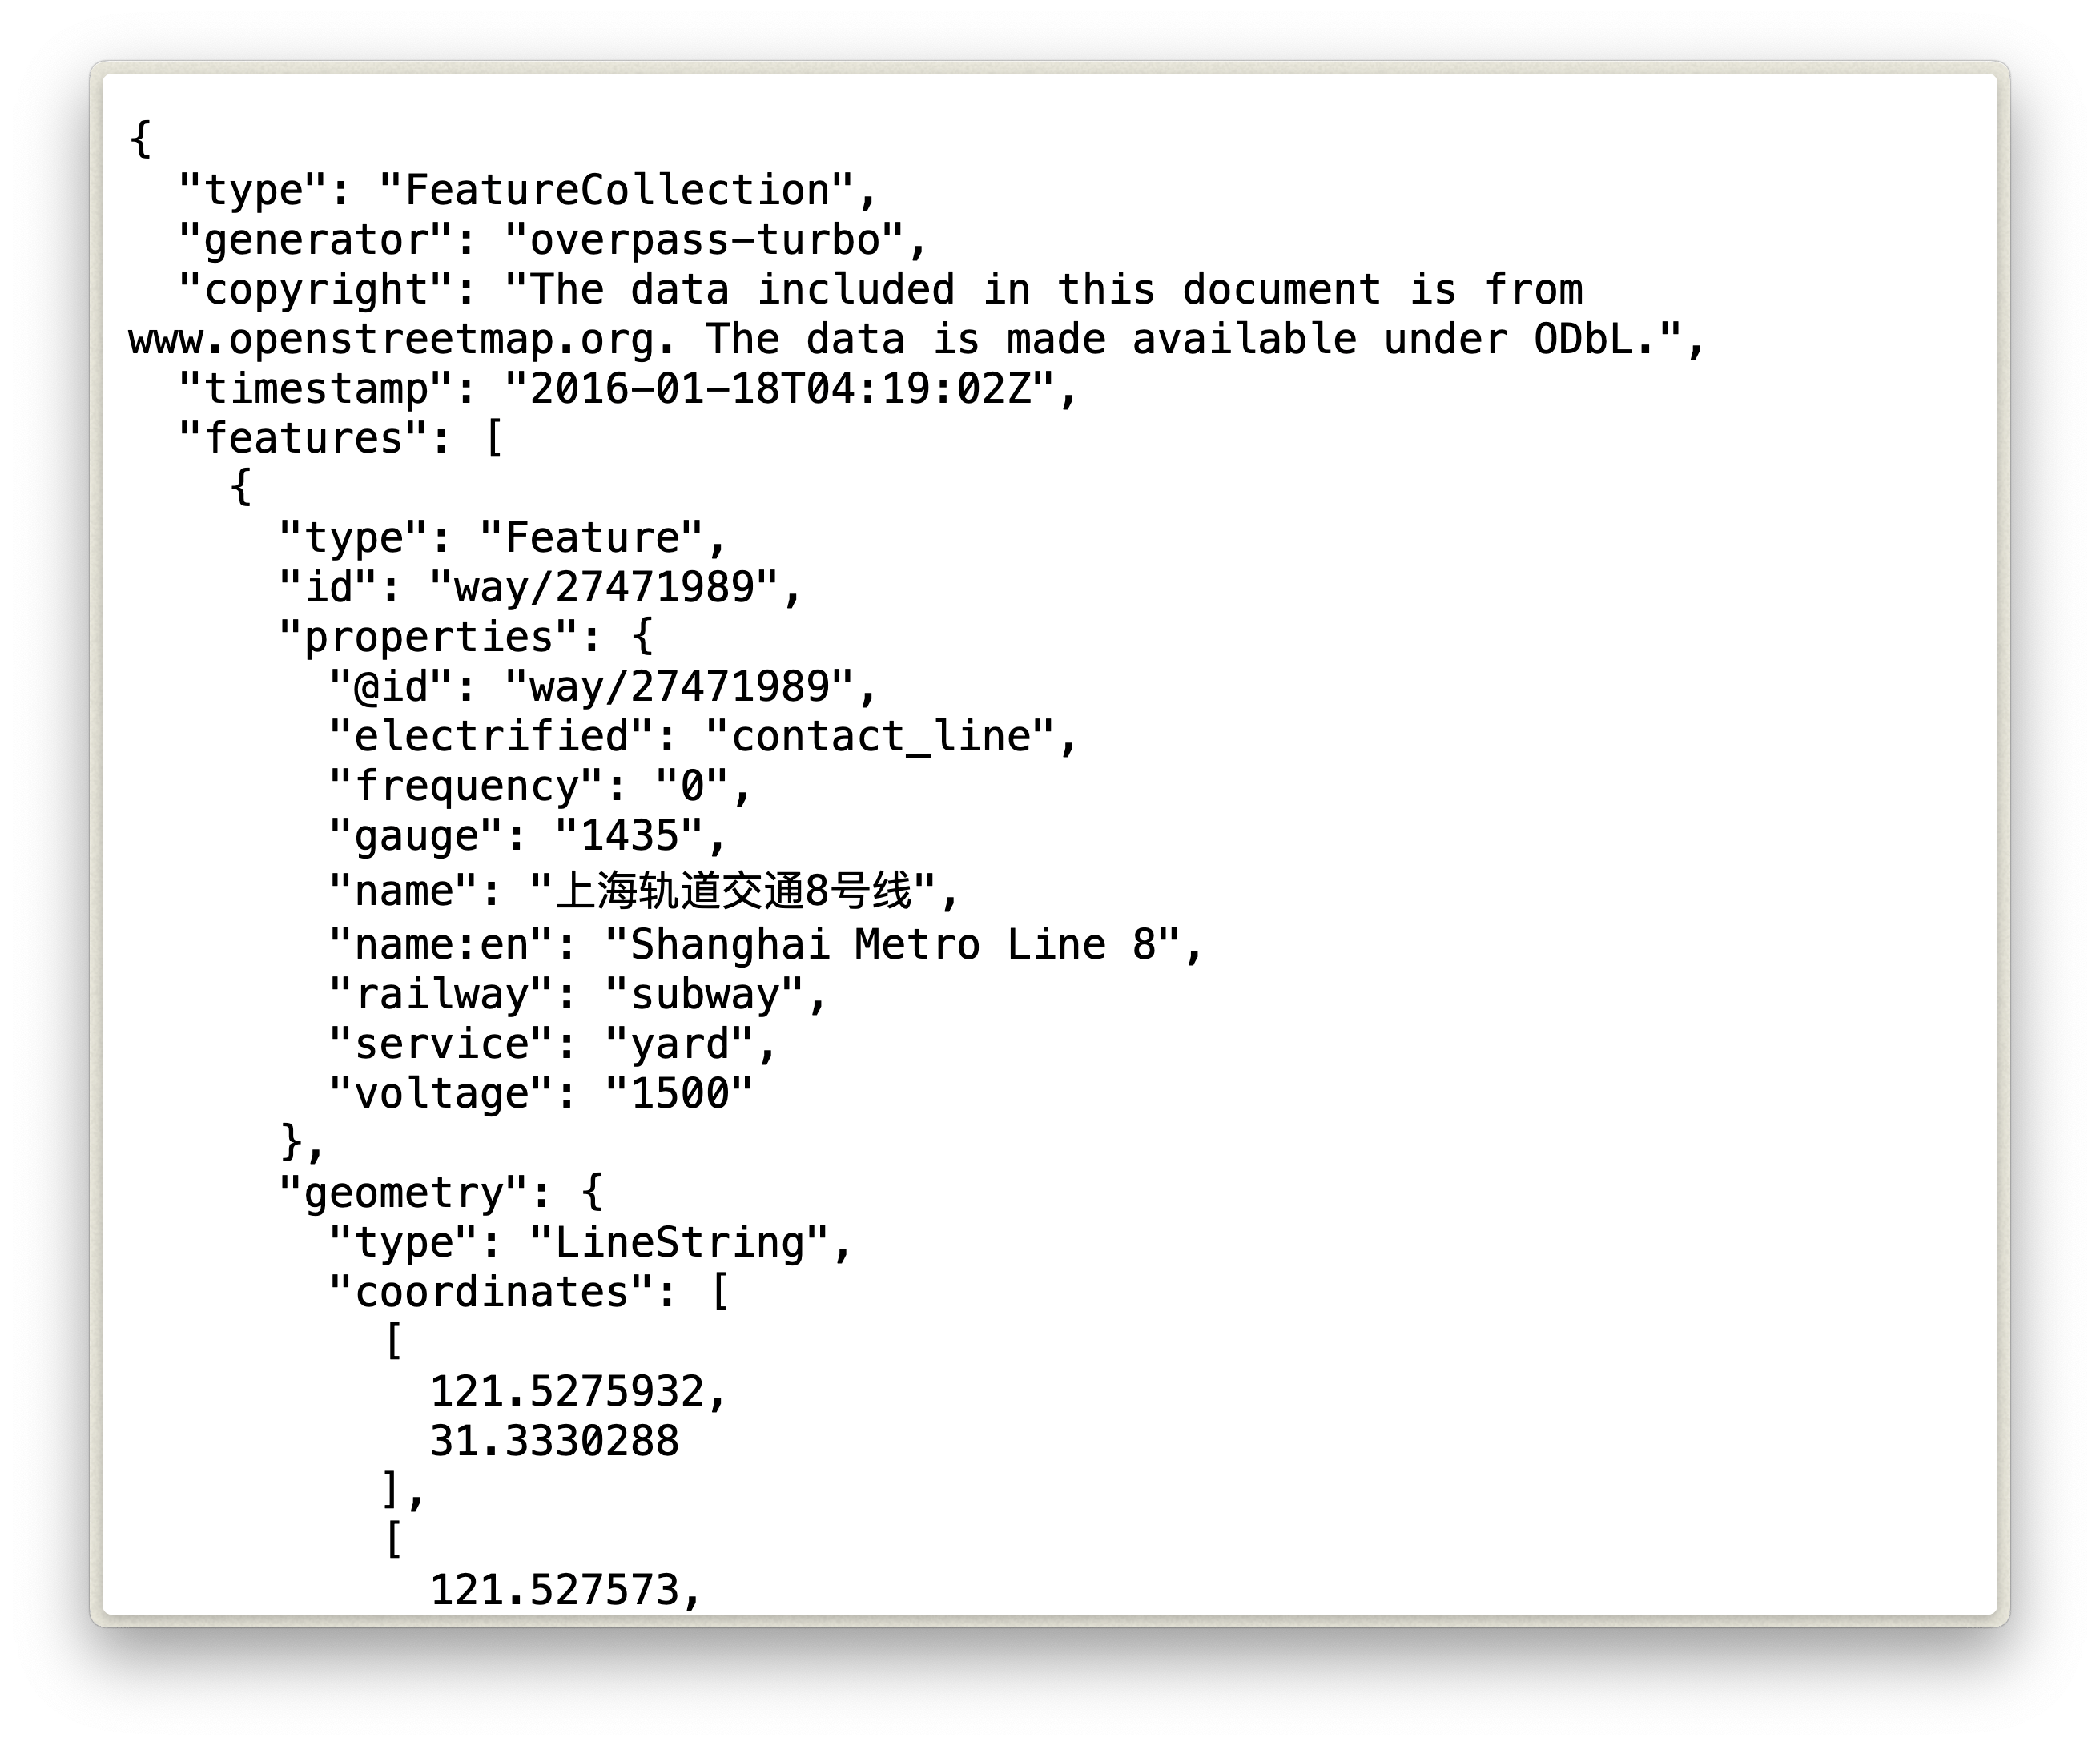
Datawrapper will ignore information on whether a metro line is electrified or what voltage it runs on. Only the properties that you can use to pre-style a map will have an effect. Learn more about customizing your markers before importing them.
That said: When you upload a GeoJSON, Datwrapper stores even unsupported properties, which will make your map heavier and slower. Consider cleaning up your GeoJSON beforehand.
Where can I find the GeoJSON I need?
There are multiple ways to get your hands on a GeoJSON file:
- Open Data portals sometimes offer GeoJSONs. For example, here are more than 2000 datasets that you can download as GeoJSON on data.gov
- If your data only exists as a TopoJSON, Shapefile, or another geospatial format, you can convert it to a GeoJSON in online tools like mapshaper.org or geojson.io.
- Or you can draw and download your own GeoJSON on geojson.io. It's a simple tool that lets you place dots and draw areas and lines. Click on "? Help" in the top right corner of geojson.io to learn how it works.
I have imported markers, and now my locator map takes a long time to export, or I'm seeing an error message. Why?
It might be that you’ve added too many markers — either with the “Add region as area marker” or “Highlight a region” features, or by importing markers as explained above. Adding a lot of any of these kinds of area markers can slow down the map export.
You can solve this by reducing the number of area markers by grouping them together. Learn more in our article "How to group area markers before importing them."