How to create a bar chart
- Free
- Pro
- Business
- Enterprise
The bar chart is probably the most all-round chart type out there. It's easy to create and easy to read. In this tutorial, you will learn how to prepare and upload your dataset to create a bar chart with Datawrapper, and how to customize it. Like all our charts, our bar charts are fully responsive. Along with the line chart, it is our most often used chart type.

Preparing your data
Formatting your data
If you want to try to create this chart type, your data needs to be in a certain format. You'll need:
- One header row containing descriptive labels
- One column containing categories. This will determine the label in front of each bar.
- One column containing numeric values. Each number determines the length of the bar. You can have as many numeric columns as you like, but you will only be able to display one of them as bars. Consider the Split Bars chart type if you want to display two columns of data.
That's the data we used to create the chart at the top of the page:
| Country | Turnout |
| Romania (2020) | 33.2 |
| Bulgaria (2024) | 33.4 |
| Albania (2021) | 46.3 |
| United Kingdom (2024) | 60 |
| Spain (2023) | 66 |
| France (2024) | 66.7 |
| Germany (2021) | 76.4 |
| Sweden (2022) | 83.8 |
| Malta (2022) | 85.6 |
| Turkey (2023) | 87 |
| Belgium (2024) | 88.5 |
Source: Parties & Elections
Uploading your data
Once you've prepared your data, create a new chart in Datawrapper. You can do so by going to our homepage and clicking on Start creating. In step 1: Upload Data, copy & paste your dataset or upload it as a .csv file or an Excel sheet. After pasting the data above into Datawrapper, it will look like this:
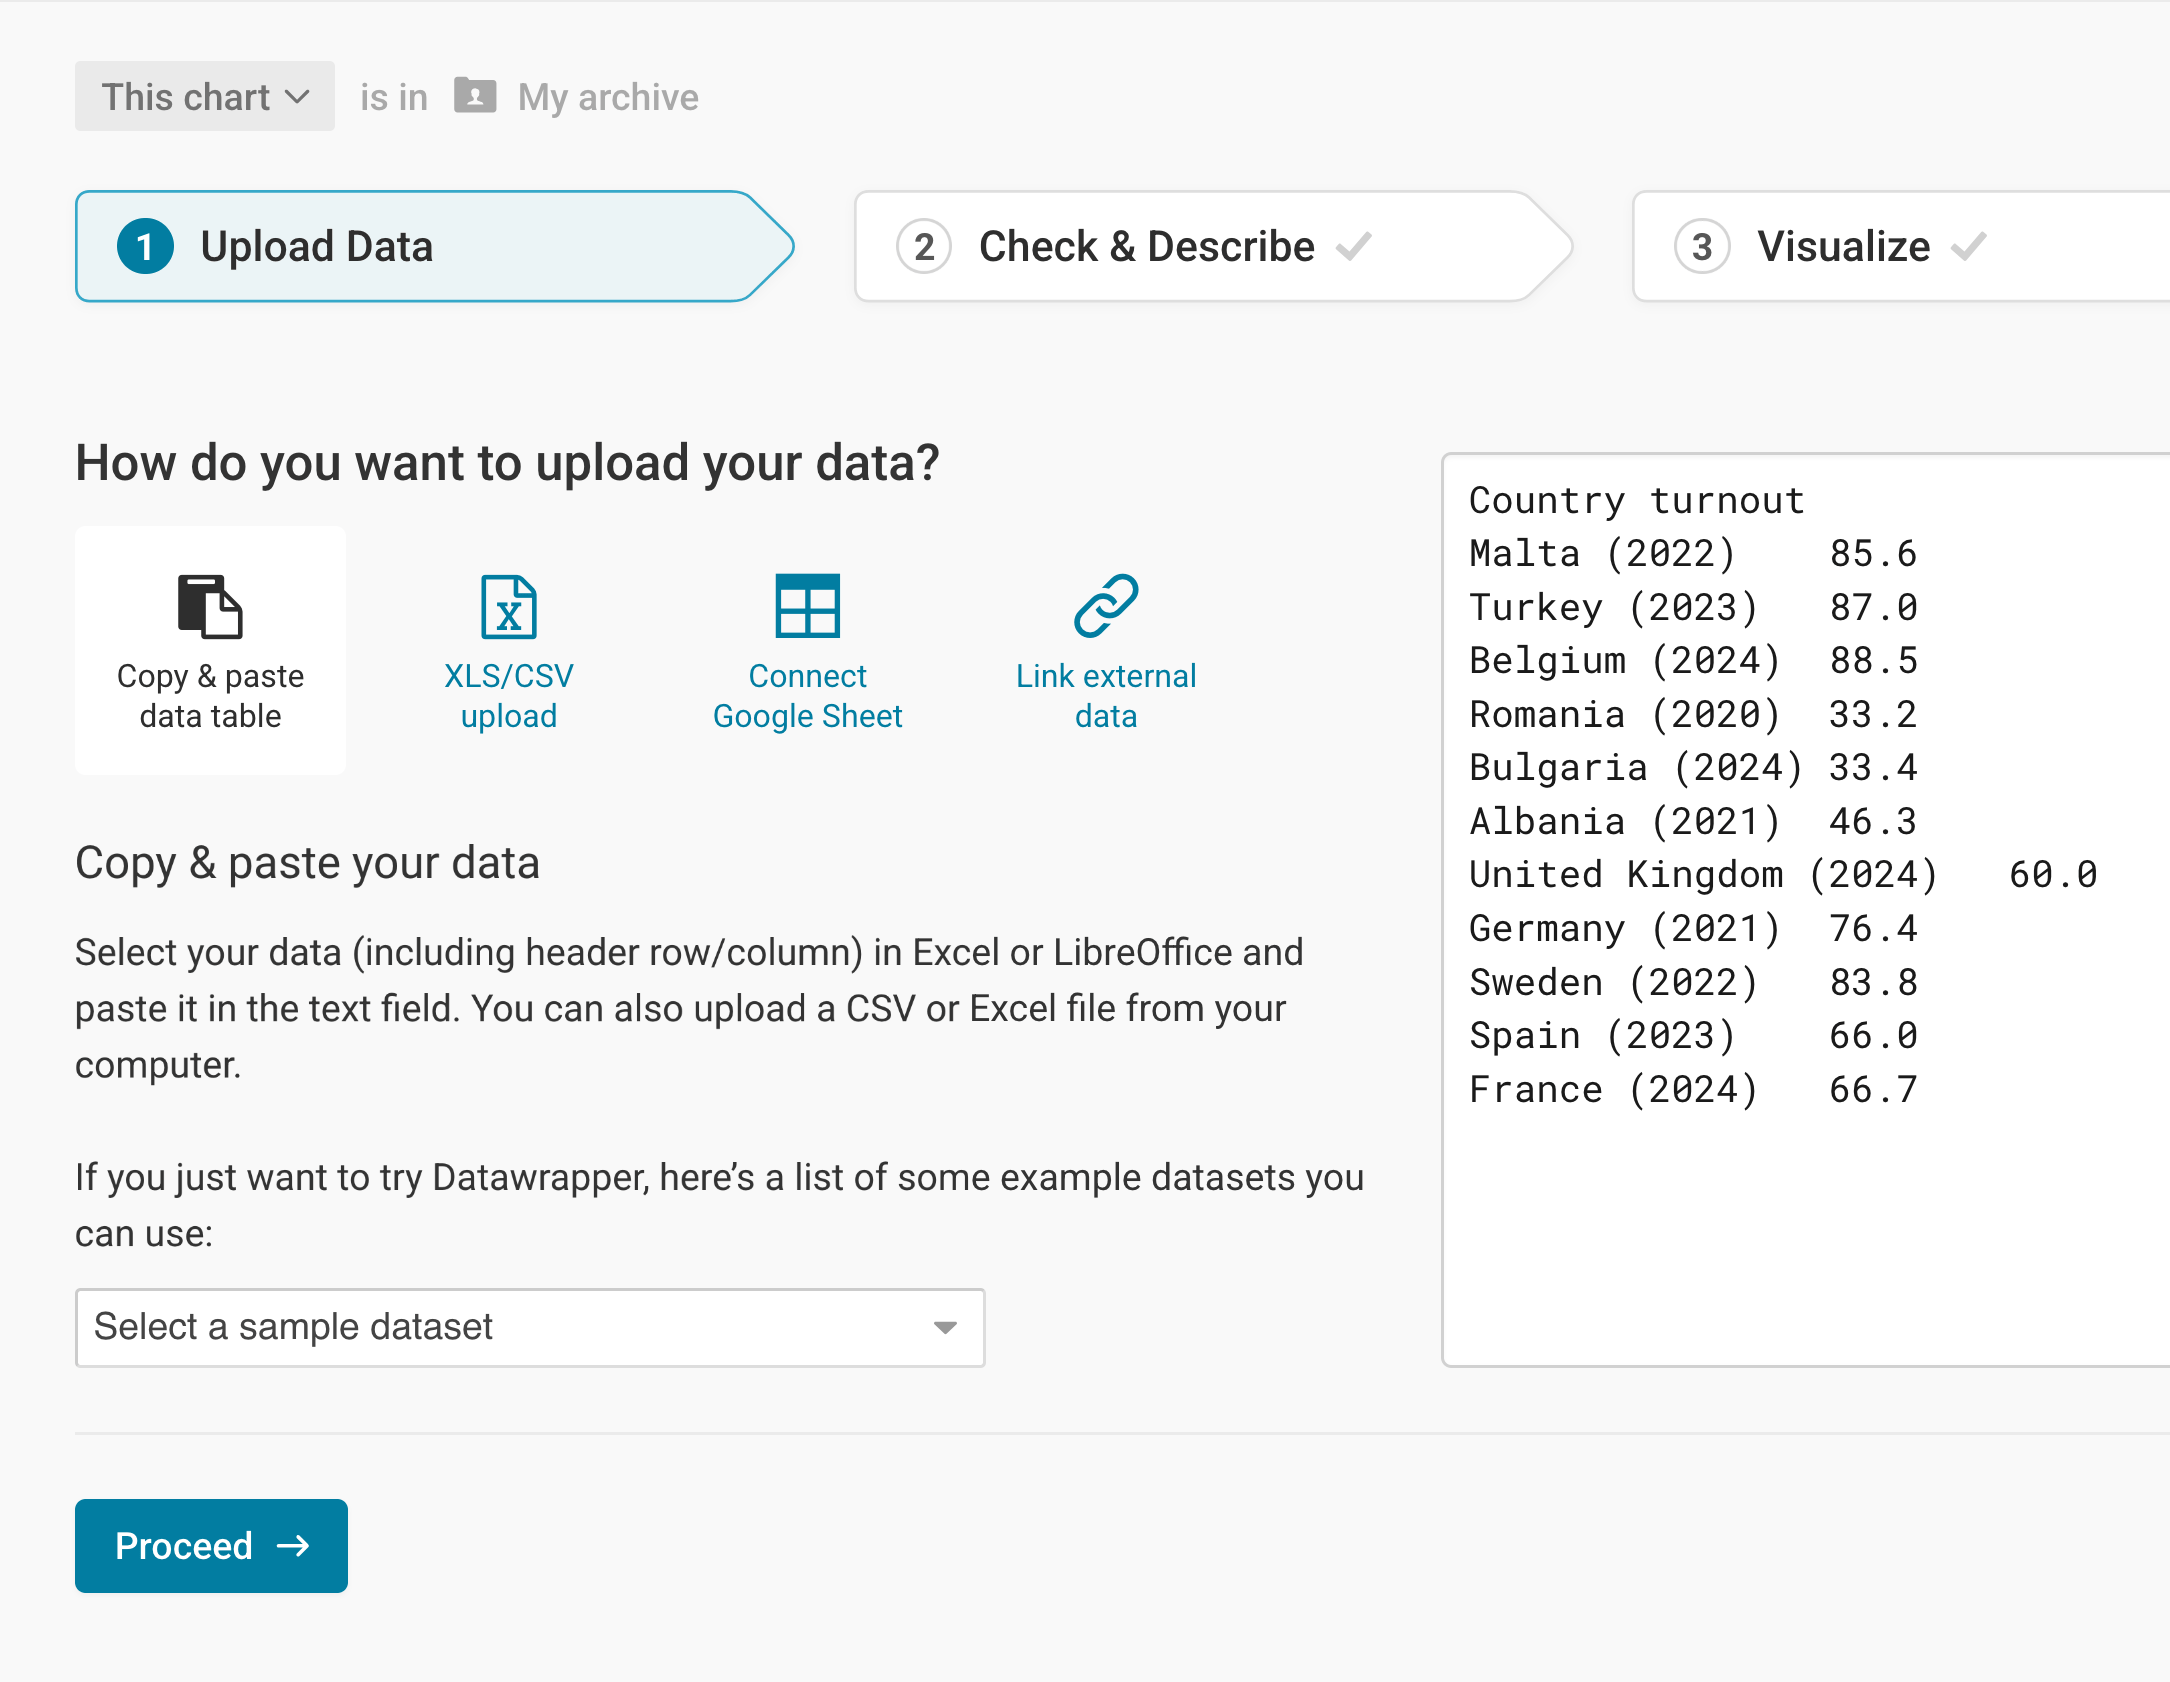
Click Proceed at the bottom right to go to the next step.
Checking data and units
In step 2: Check & Describe, you can check if your dataset was imported correctly and make changes to it – if necessary.
If you did not upload a header row, you have to untick First row as label to avoid losing your first row of data. Always remember to do this if you don't have descriptive row and column headers.
You can see that Datawrapper correctly recognized your numbers as numbers (and not as text or dates) because they are colored in blue and are right-aligned.
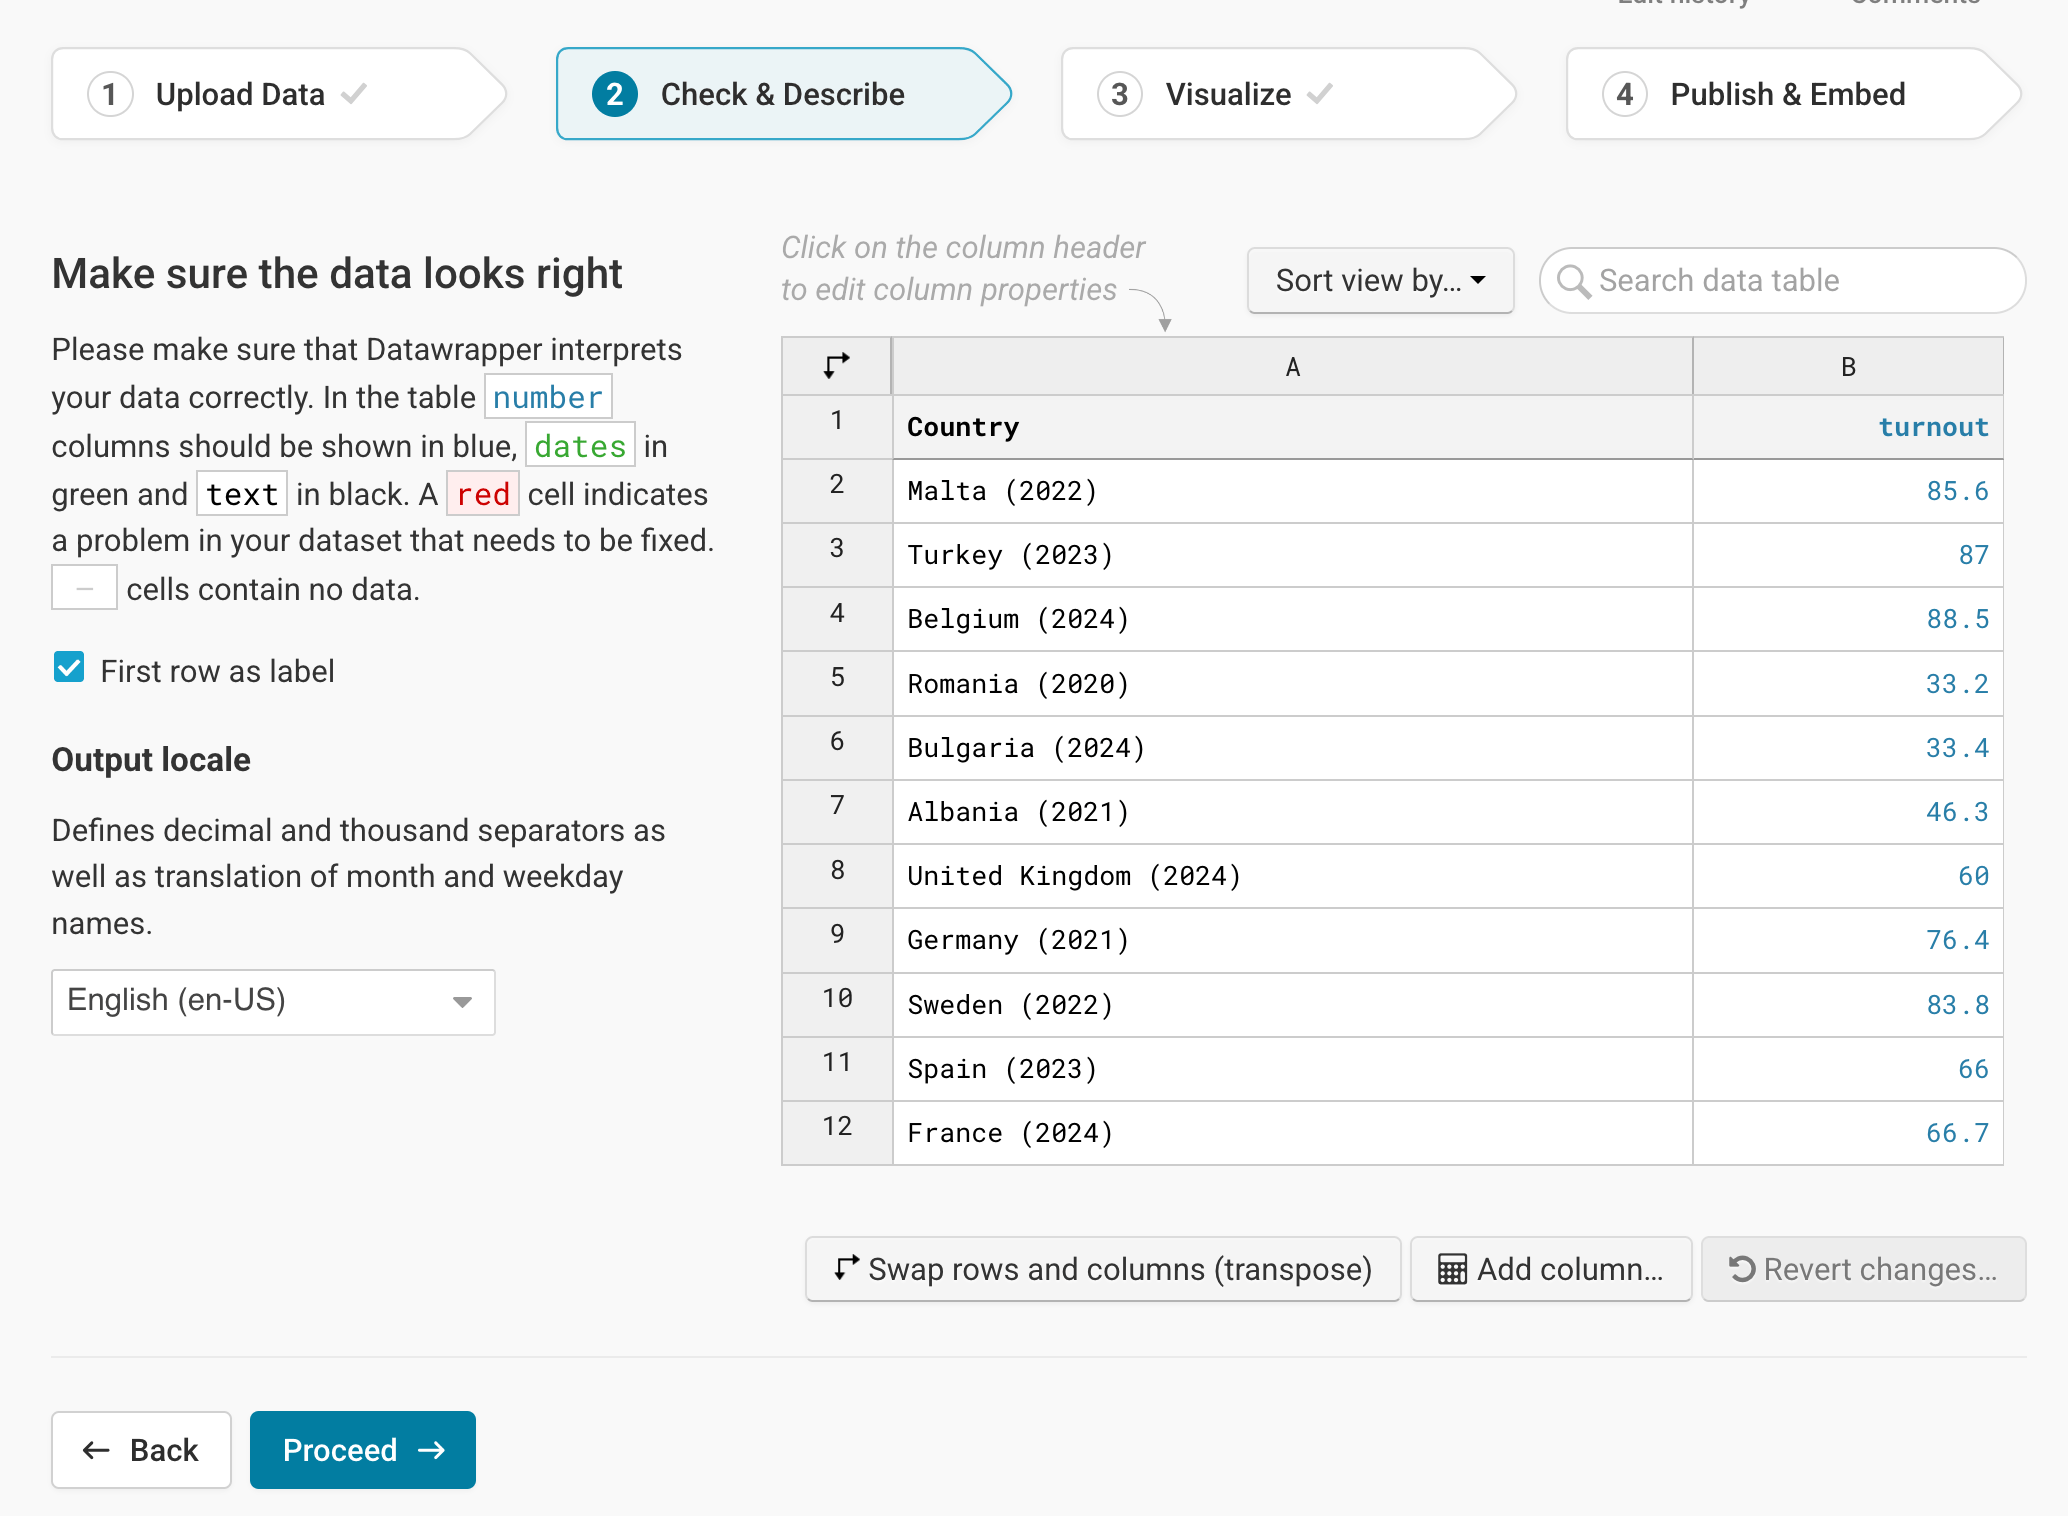
To add a unit (like km/h, kg, inch, $, etc.) to your numbers, click on a column header and then add the unit of your choice to the Prepend/append options on the left. You can learn more about adding units to numbers here.
Click on Proceed at the bottom left to go to step 3: Visualize.
Choosing a bar chart
In this step, you see a first chart. It's probably a line chart. We want to change that. To do so, click on the Bar Chart symbol at the top left of the available chart types:
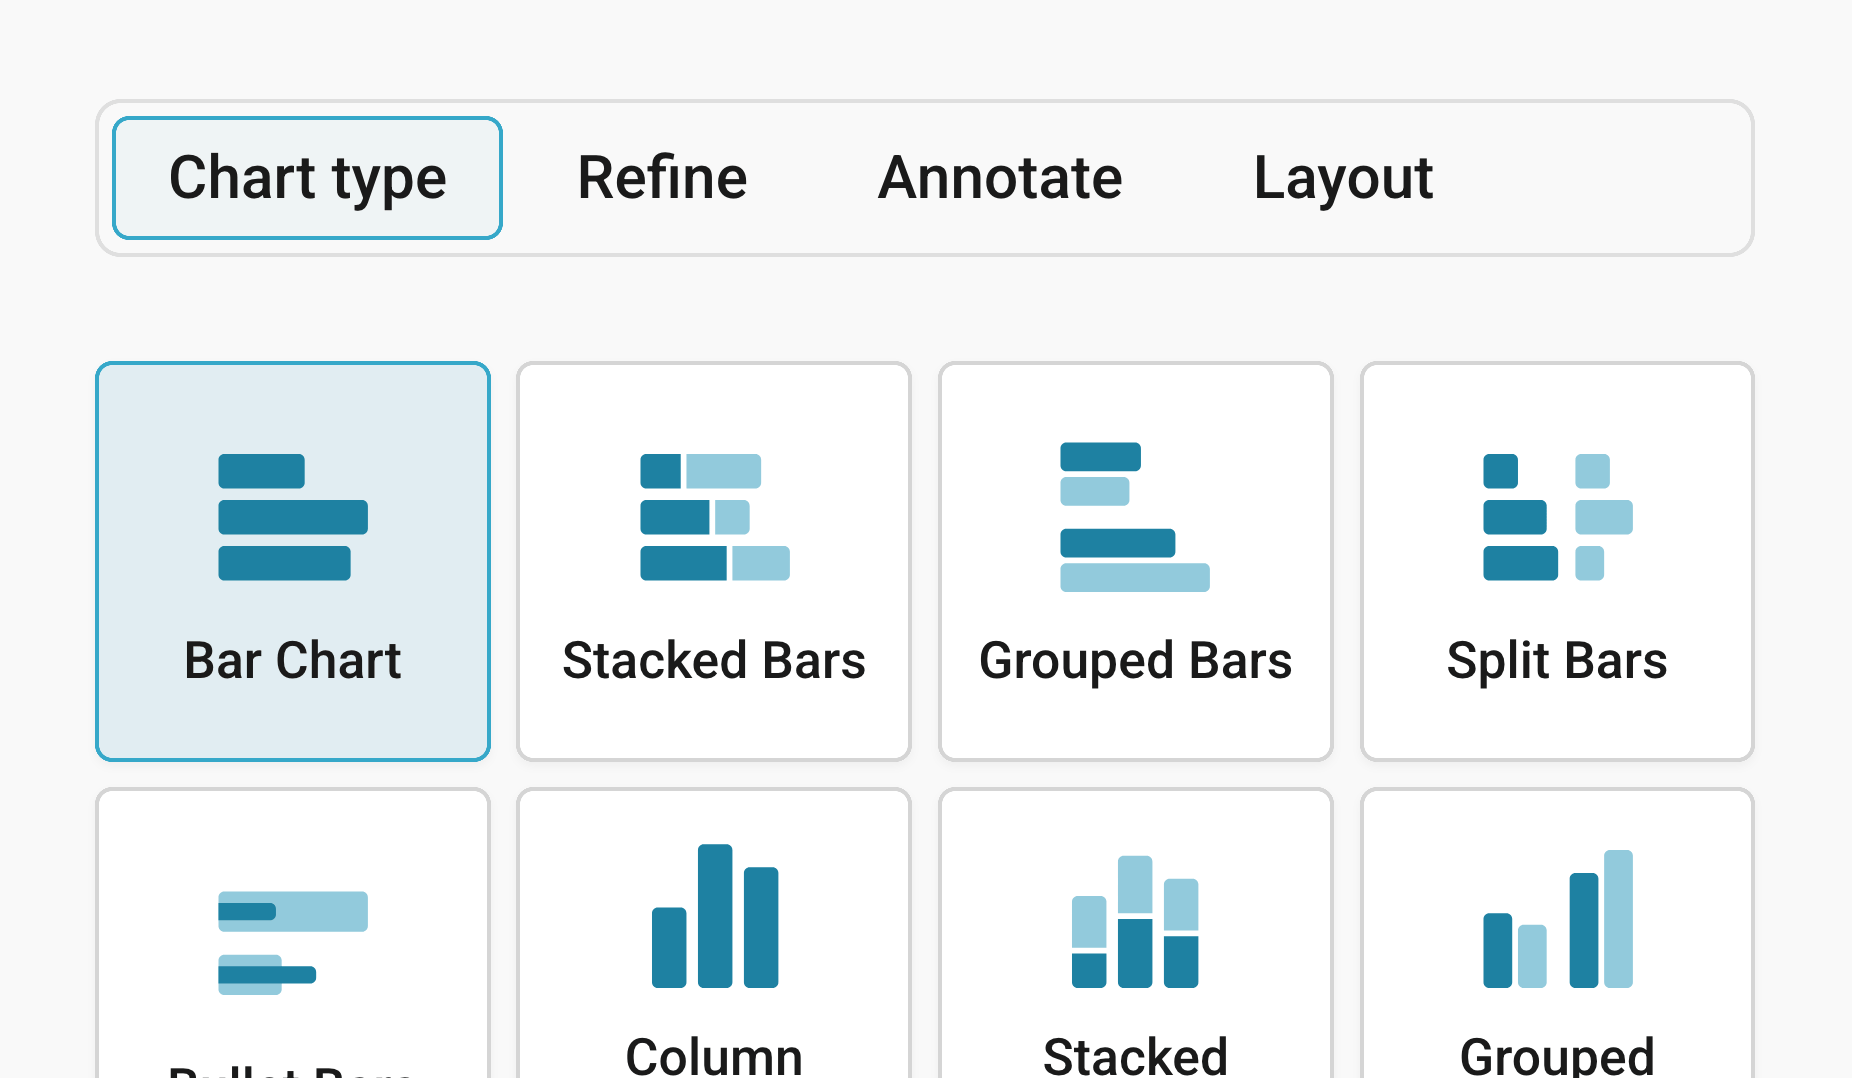
You will now see a basic bar chart, without a title or description. Let's improve it! Besides Chart type, you'll notice three more tabs in this step: Refine, Annotate, and Layout.
Refining your chart
Resizing
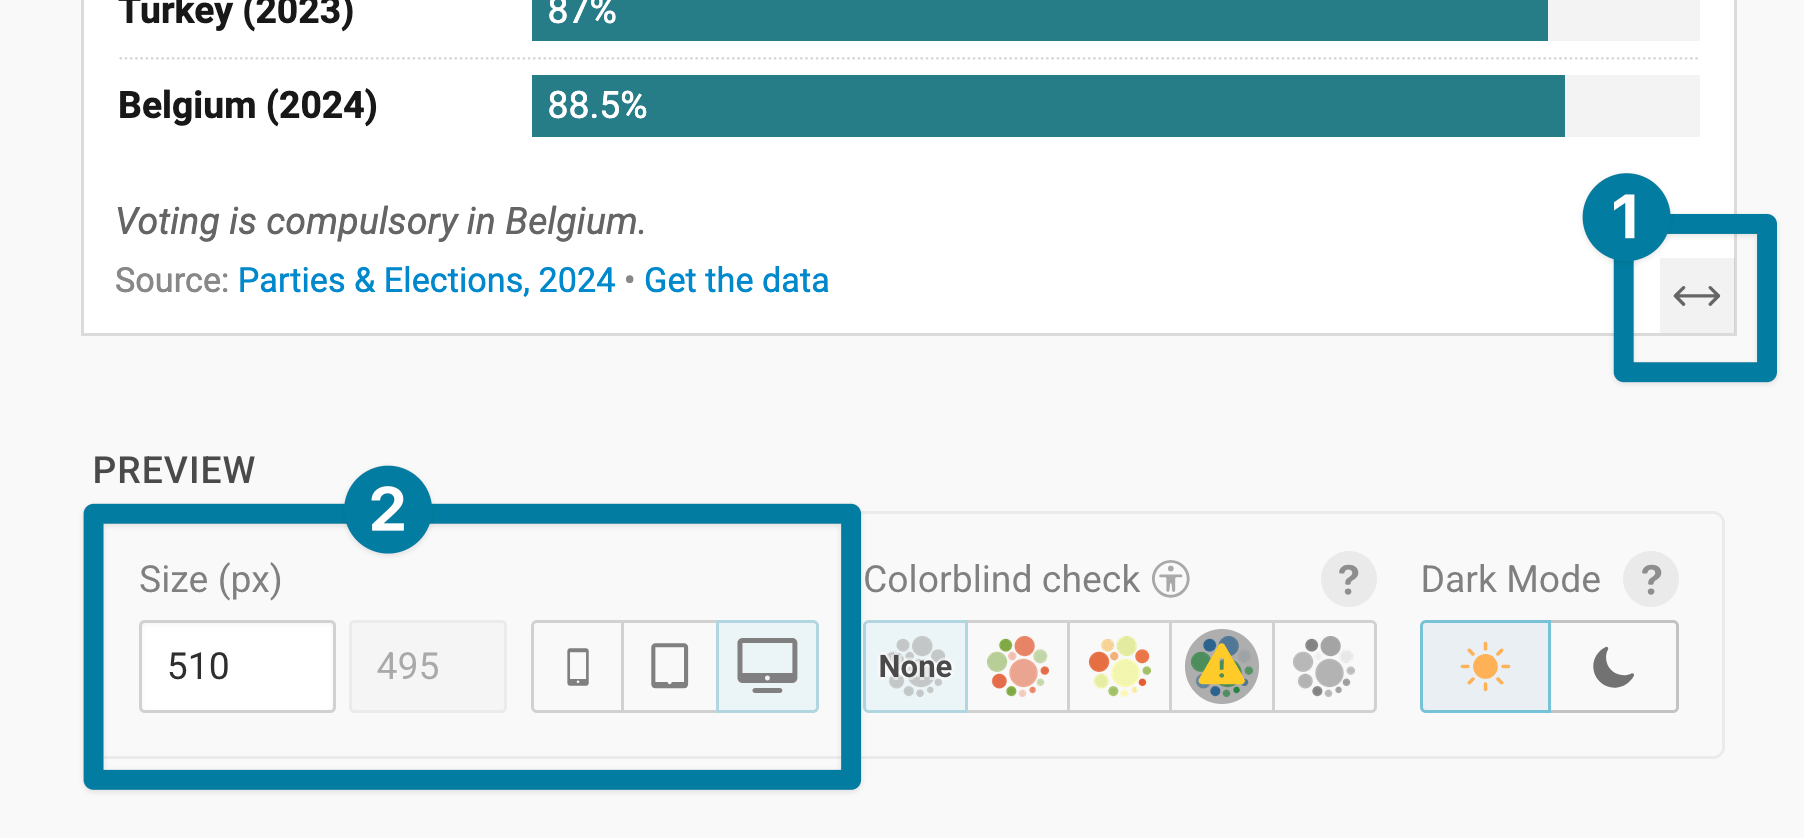
In any tab of step 3: Visualize, you can click, hold, and drag the arrow in the lower right corner to scale the chart window ❶ or manually determine the dimension of the chart by entering values in the boxes below the chart (Size ❷).
We recommend checking what the chart looks like on different screen sizes multiple times while designing it, by clicking on the little icons (mobile, tablet, and computer ❷).
Learn more about changing the width and height of your chart in this article.
Formatting labels
Let's continue with the Refine tab. Here, we see four panels: Labels, Horizontal axis, Appearance, and Sorting & Grouping.
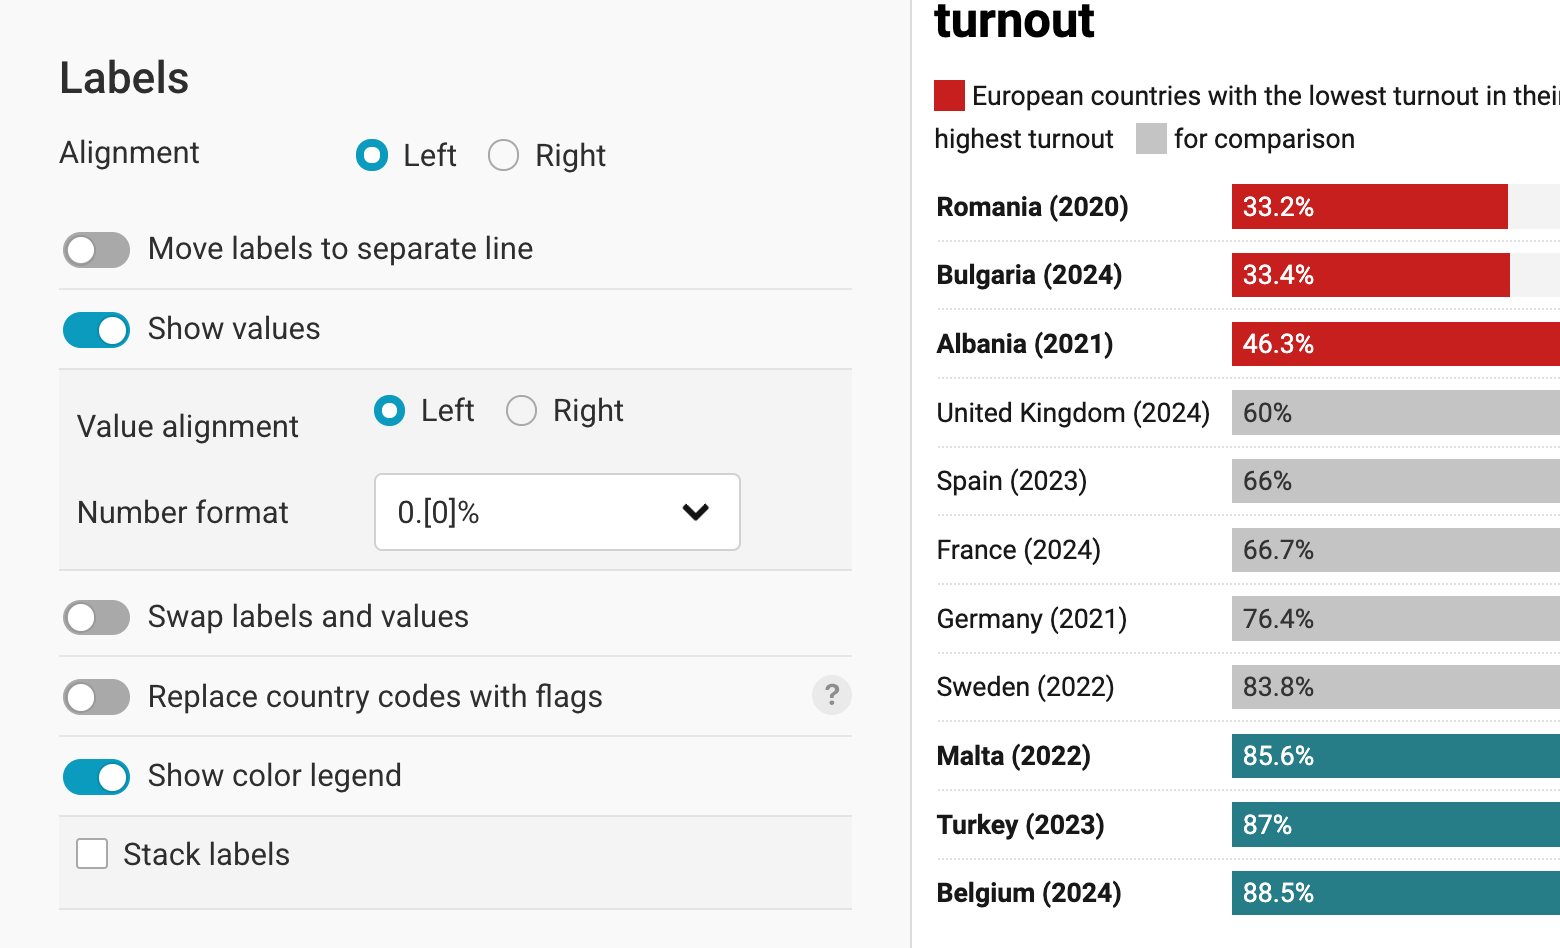
The first panel lets you choose how you want your labels to look. Do you want to align your labels to the left or right? Display them in a separate line? Show or hide the value labels? Feel free to play around with these settings to see what works best for your data (don't worry, you can't break anything – just uncheck the checkbox again if you're not happy with the setting, or undo the changes).
The most interesting setting here is the Number format. Here we can decide how our values are shown (if we choose to display them). Here are three examples:
- Choose the number format 123.4k if you have big numbers like "1,303,428" that you'd rather display as "1.3m".
- Choose the number format 0.0 if you have very detailed numbers like "0.1922302" that you'd rather display as "0.2".
- Choose the number format 0% or 0.0% if you have relative numbers, like in our case. This setting will add a percentage sign.
If you want a more detailed explanation, you can also read our Docs article Number formats you can display in Datawrapper.
Changing the axis range
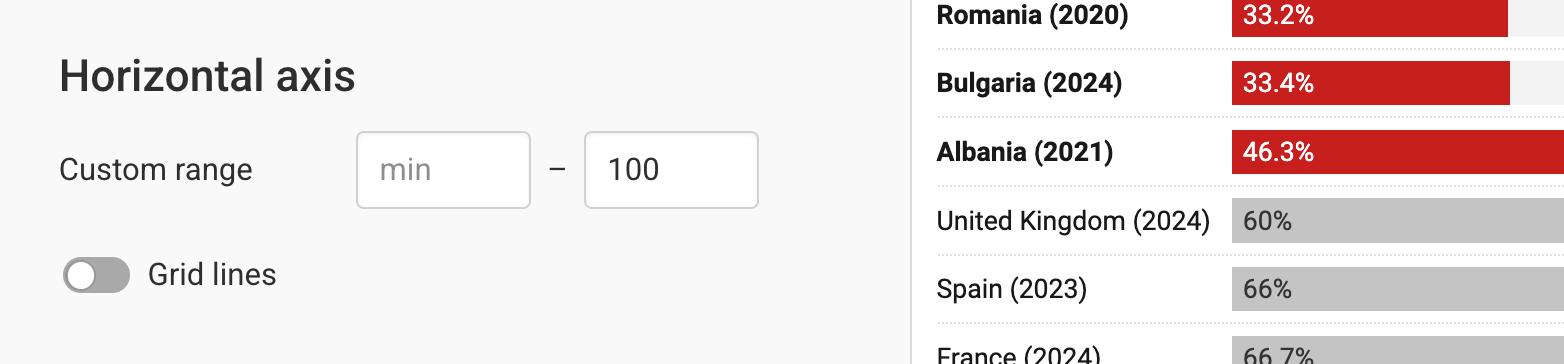
The second panel lets you customize your horizontal axis and grid lines.
- Custom range: Here you can decide which value range your x-axis should cover. By default, the x-axis will be as long as your biggest bar. But in our chart we want to show percentages close to 100%, so it makes sense to extend the chart to 100%. Readers will then be able to see how much turnout is "missing" to achieve the ideal 100%. So we can write "100" in the max field.
- Grid lines: You can choose to show vertical grid lines along the x-axis and where to position them. You will see more options when you switch on the Grid lines feature.
Changing bar colors and appearance
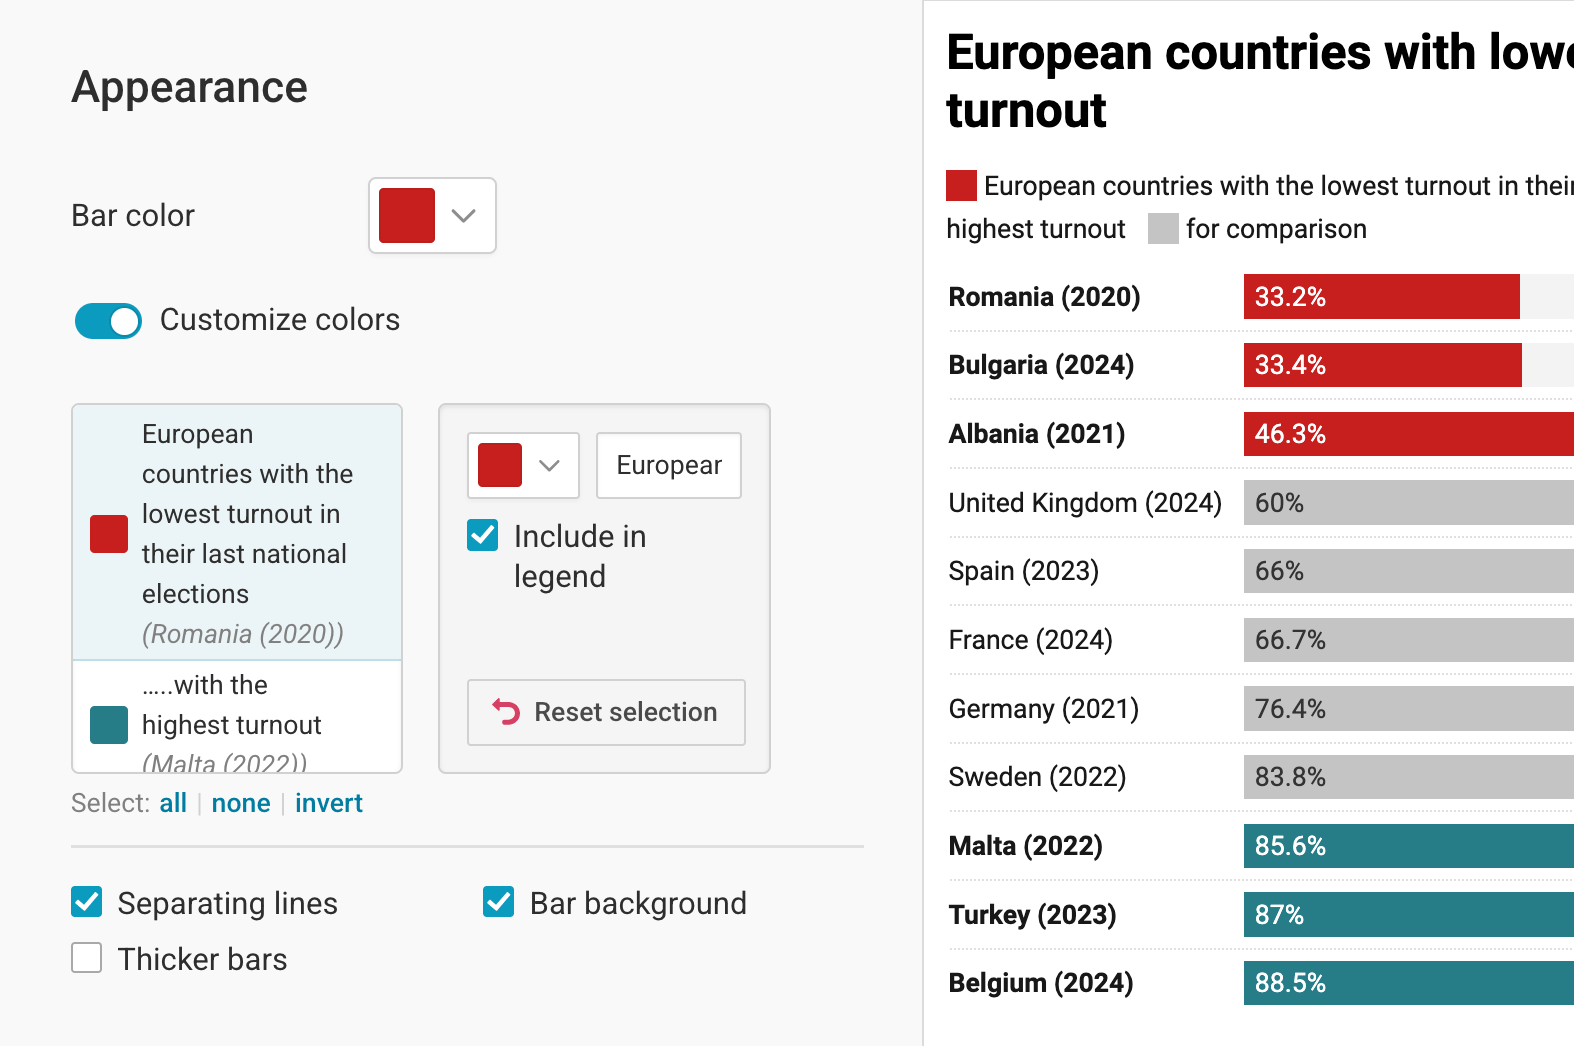
In the third panel, you can decide on the design of our bar chart: You can choose bar colors and decide if you want to separate rows with a line, make your bars thicker, or give each bar a gray background.
Let's focus on how to choose colors for our bars. You can choose one color for all our bars (click on Base color to change the default color). Click on customize colors to choose individual colors for each bar. In our chart, we can give countries with a low turnout a red color and color countries with a high turnout in green. To do so, we can click on the name of a label (e.g. "Romania (2020)") and then click on the color to choose a new color for the bar with this label. Learn more about picking colors in Datawrapper here.
To give the same color to multiple bars at the same time, first select them together. If you want to select multiple items that are listed consecutively, hold down the Shift key while selecting. If the items are not in consecutive order, hold down the Ctrl (Windows) or Command (Mac) key while selecting.
There is also a way to color bars by category by adding an extra column in your data to indicate colors (we recommend doing so before uploading the data). When the data contains more than two columns, you will see a Select column dropdown menu where you can select a column to indicate color. In the example below, the color column contains three categories: red, gray, and green.
In this panel, we can also decide if our chart should have a color key or not. If we click on the text field next to a color, we can also change the description. If you delete the description for a color key, it will not be shown.
Sorting and grouping bars
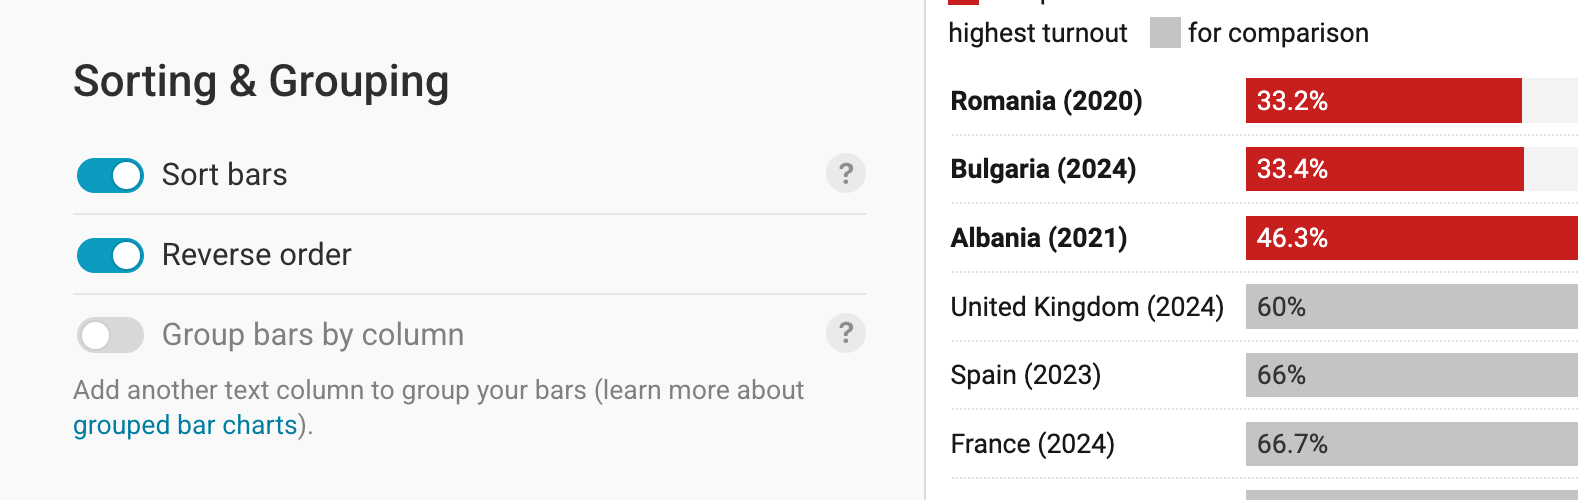
In the fourth and last panel of the Refine tab, you can sort and group bars. The default setting for the order of the bars is the order that was in your spreadsheet, but you can change that with the following three switches.
- Sort bars: By turning this on, you can sort the bars in numeric order. So you'll have the largest bars/values at the top and the smallest bars/values at the bottom.
- Reverse order: This will do the opposite of Sort bars, and you'll have the smallest bars/values at the top and the largest bars/values at the bottom.
- Group bars by column: You can upload an extra column to put categories into an extra group, similar to when adding a column for the color category. In our case, we could have a column that states for each country if it's in "Western Europe" or "Eastern Europe". If we chose that column as our Groups, the chart would make a separation between the bars for Western and for Eastern Europe. If you want a step-by-step guide on how to create grouped bar charts, please refer to our tutorial "How to create a grouped bar chart".
Adding overlays
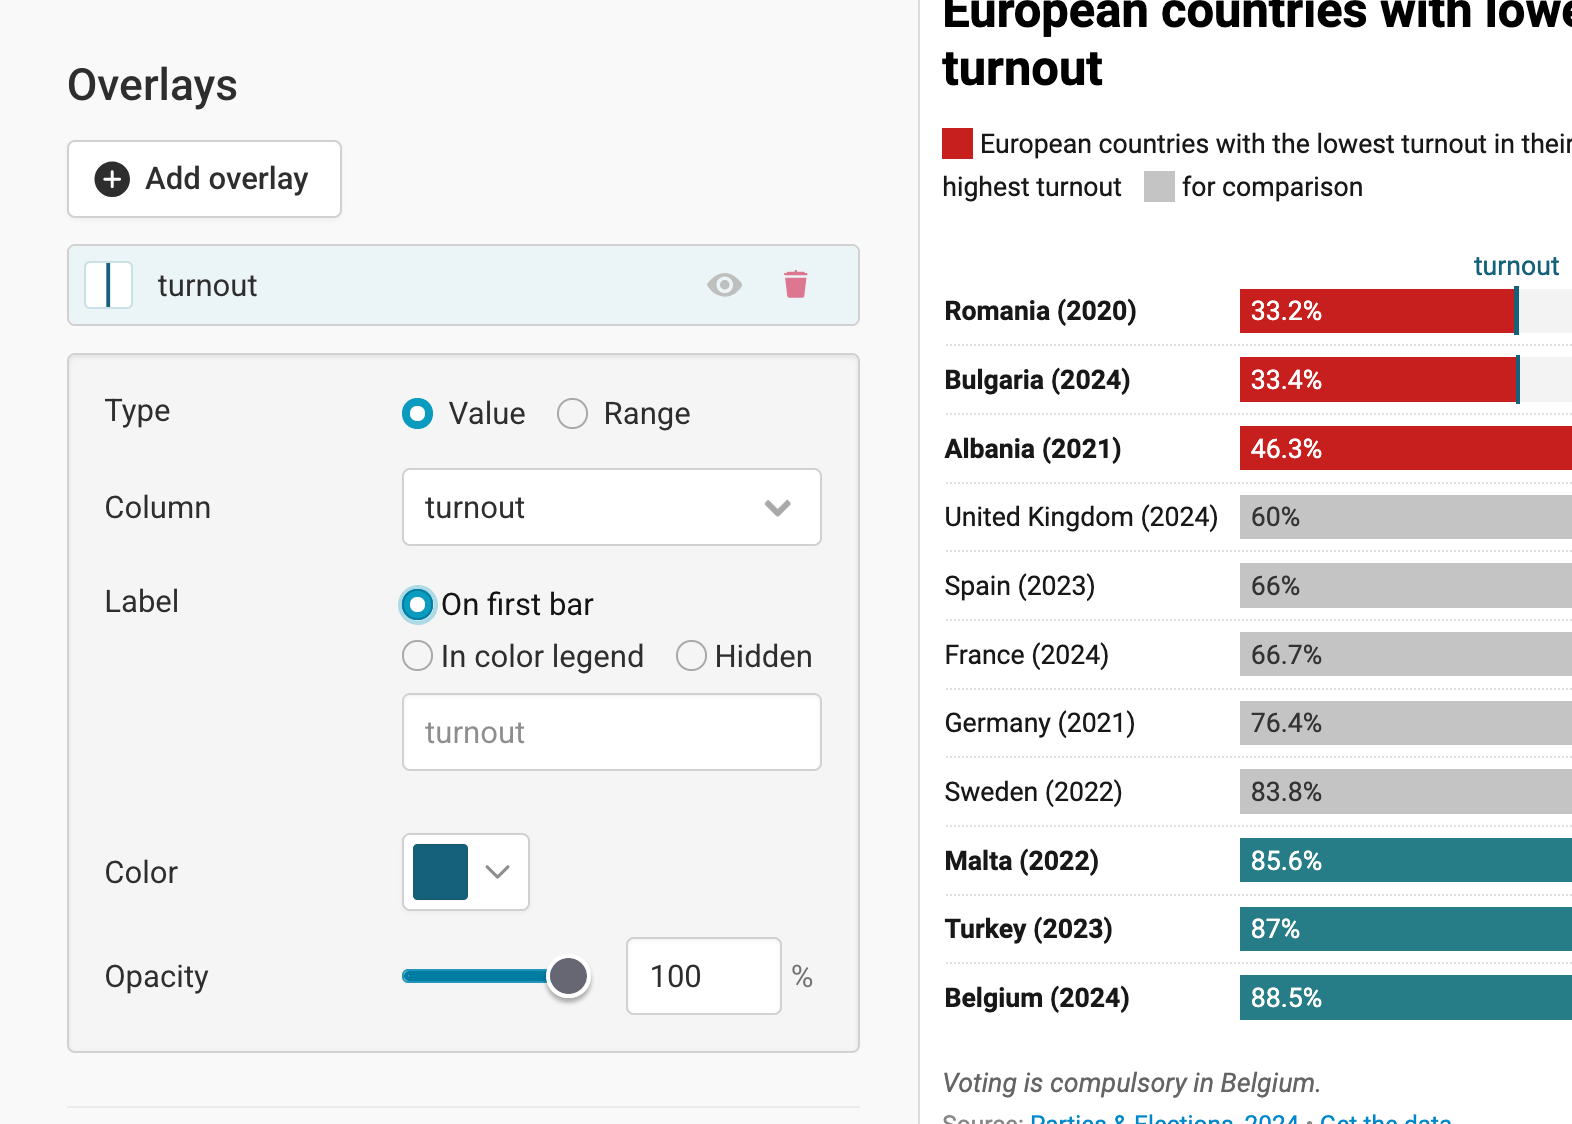
You can add overlays to your bar charts to show multiple values. This is helpful to visualize different scenarios for each category, show projected versus actual values, or mark a confidence interval. Learn more about adding overlays in this in-depth article.
Annotating your chart
Adding a title and source
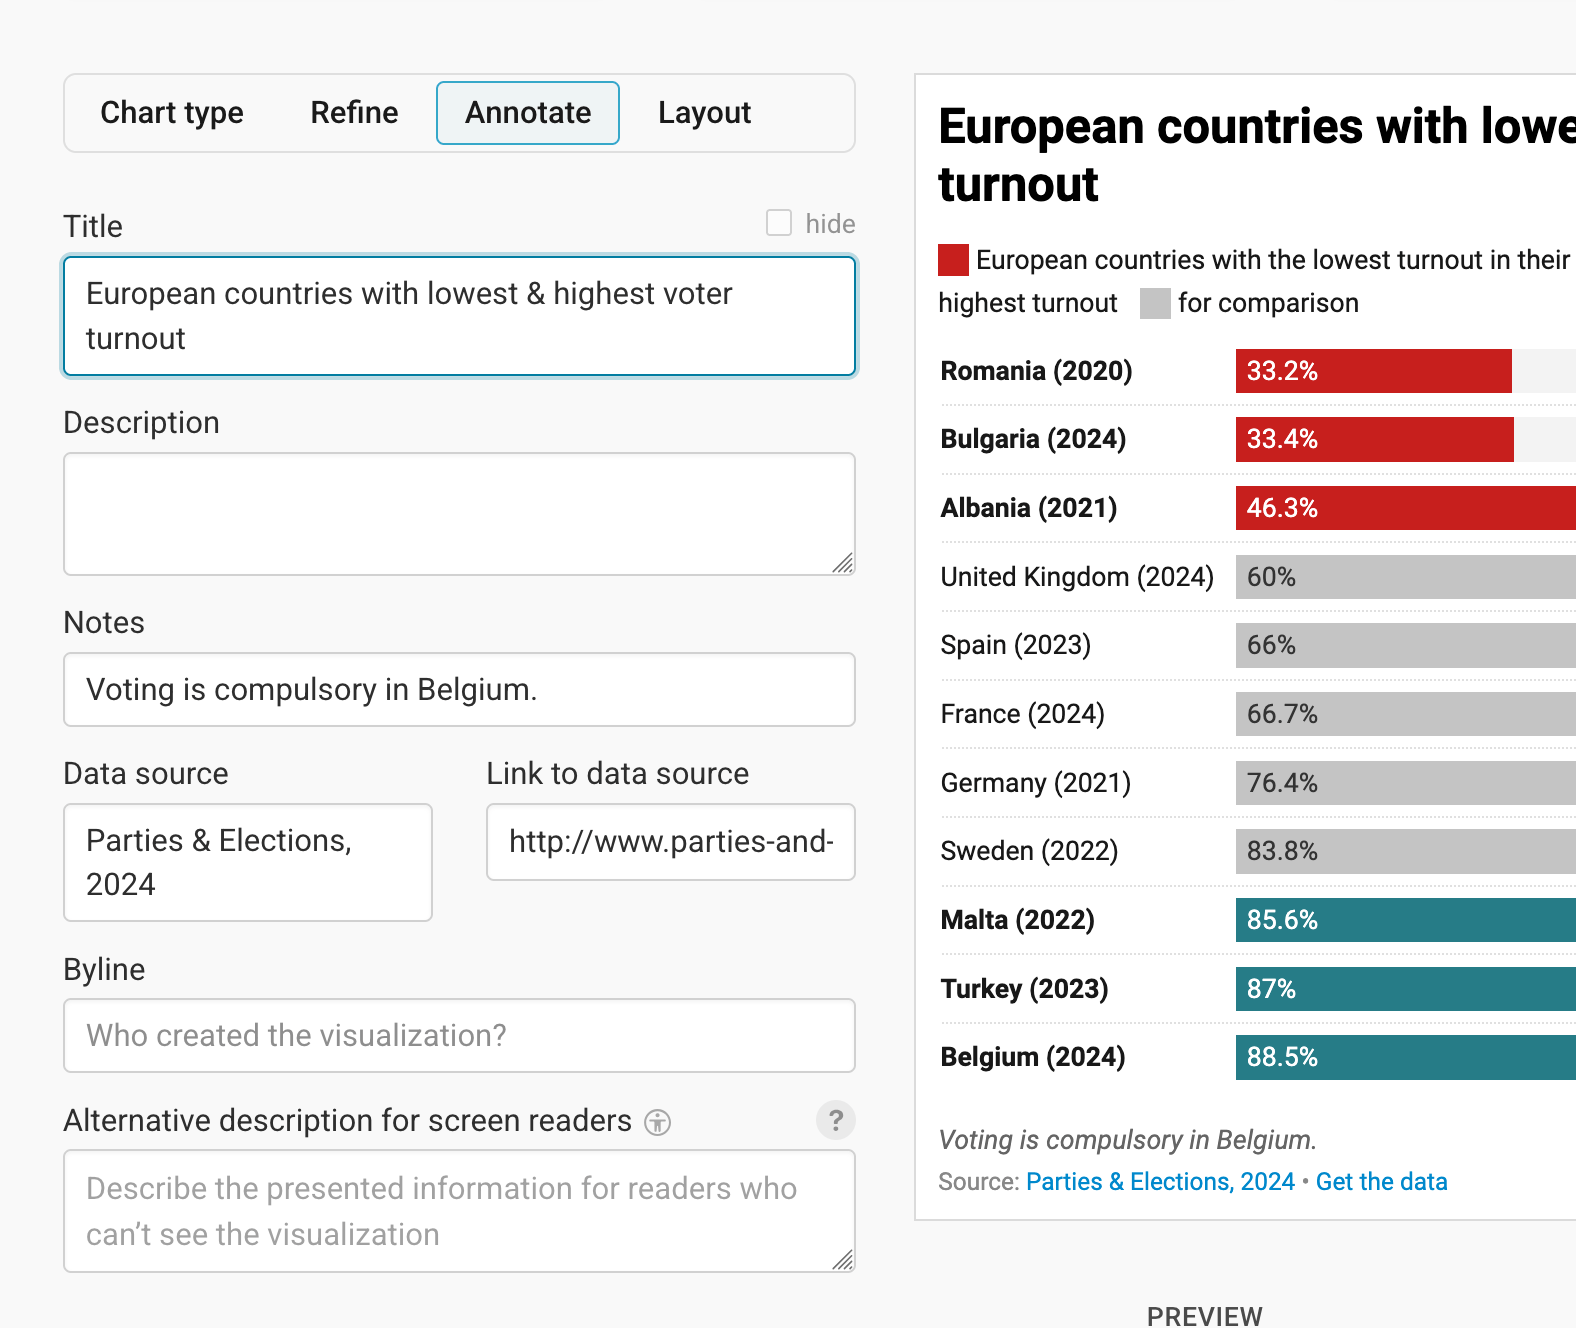
In the Annotate tab, you're first asked to give your visualization a title, description, notes, source, byline, and an alternative description for screen readers. You can find a detailed explanation of all these options here.
Highlighting bars
In the second panel of the Annotate tab, you can choose to highlight elements: The label in front of these bars will appear in bold. Revert the highlight by clicking on the x in front of the label:
Adding text annotations
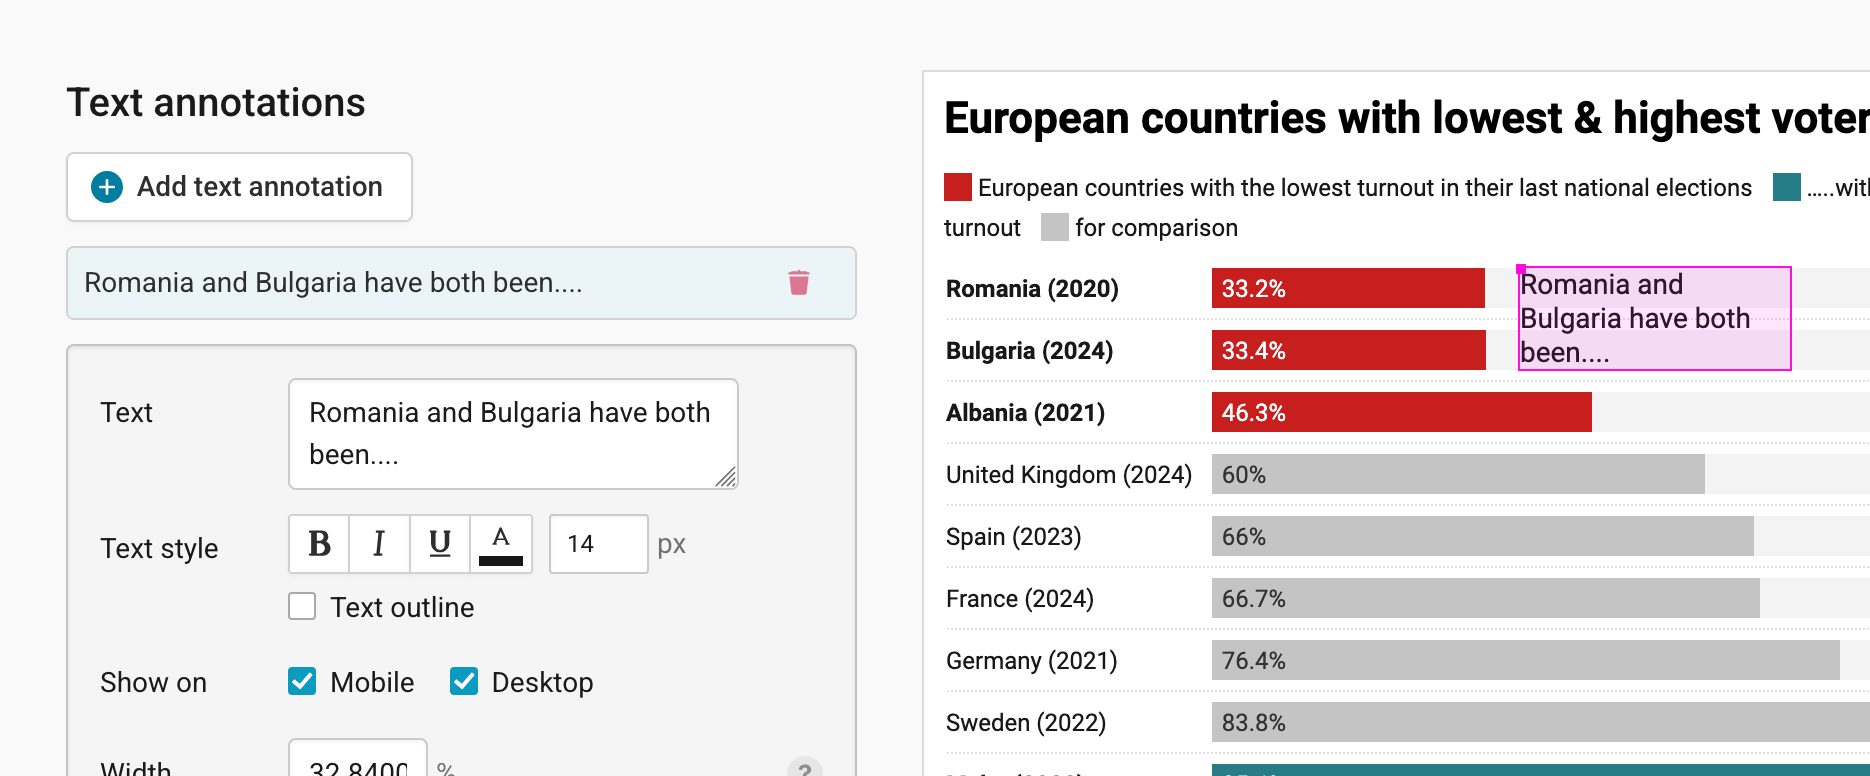
You can add annotations to your bar charts by clicking on Add text annotation. You can then style and move the text, add an arrow and circle to it, and adjust how it will appear on mobile. Here's an in-depth explanation of all the options.
Highlighting ranges
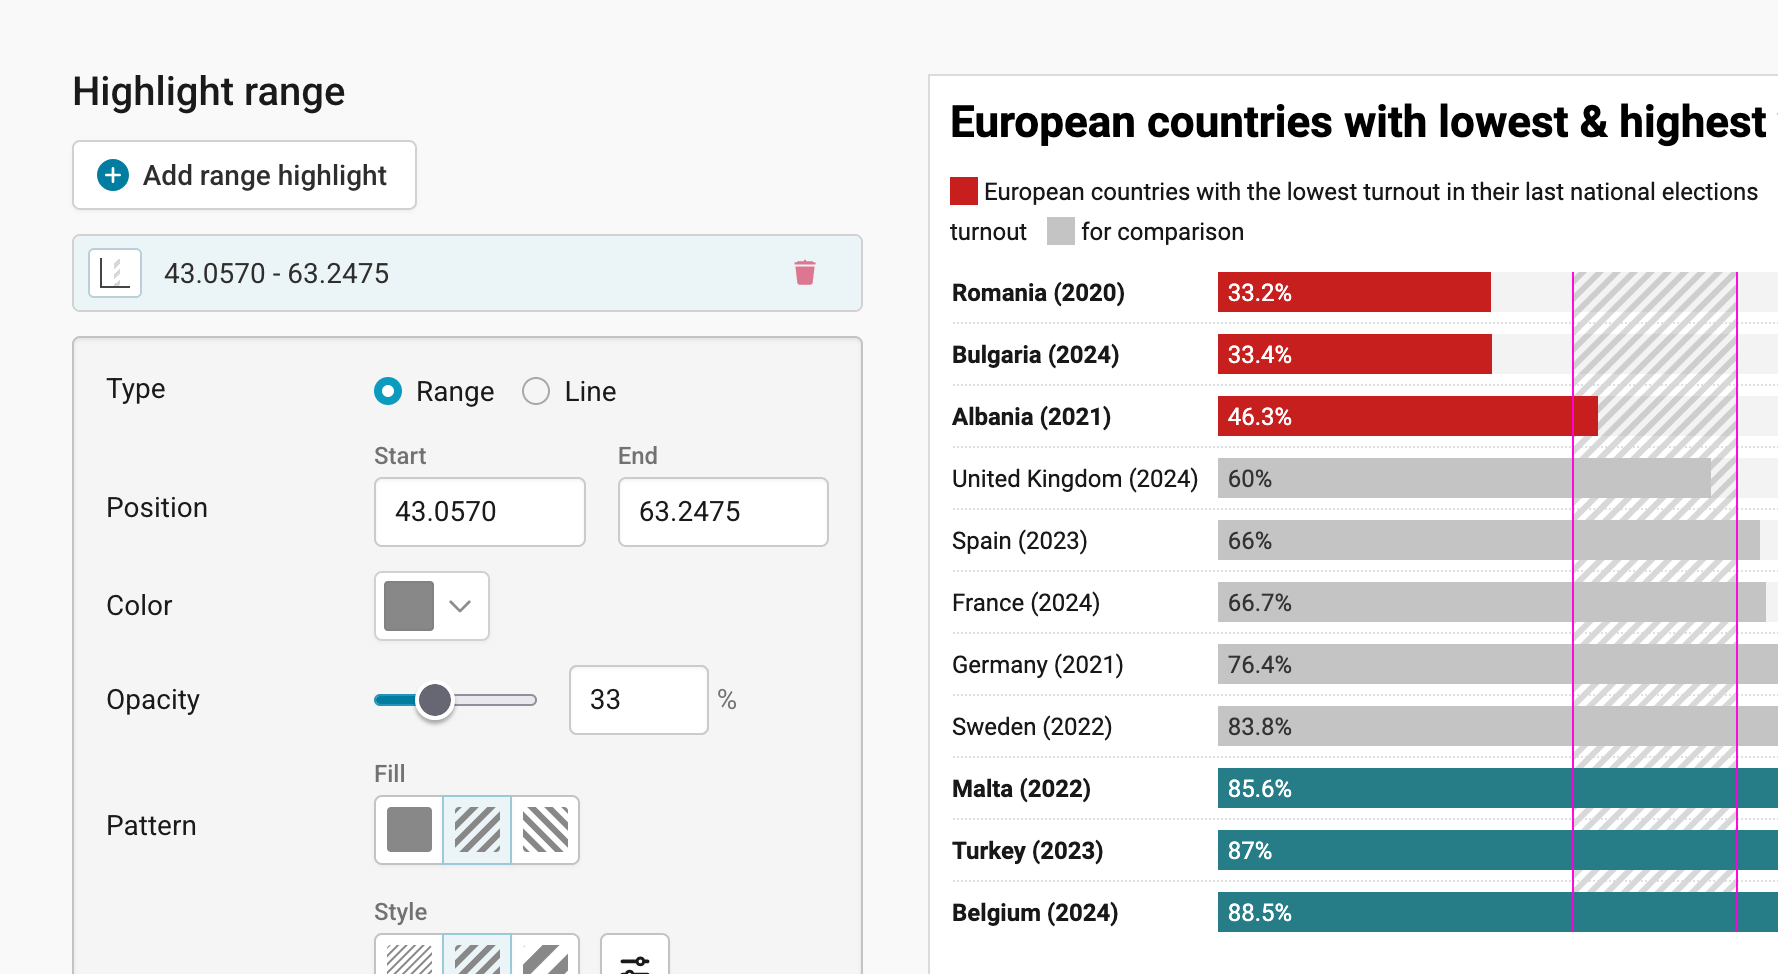
You can add a range or line highlight by clicking on Add range highlight and then dragging on the chart where you want the highlight to be. You can then change its position, color, opacity, and line width and style, or delete it again. Here's an in-depth explanation of all the options.
Publishing your chart
Besides Chart type, Refine, and Annotate, there's a fourth tab left in step 3: Visualize: the Layout tab. There, you can select an output locale, change the footer options, and enable social sharing. Find a detailed explanation of all the Layout options here.
In the final step 4: Publish & Embed, you have the option to publish the chart either by sharing the URL or by copying the embed code directly on your website or CMS (recommended). You can also download your chart as a PNG (available to all users regardless of the type of subscription plan they have) or as an SVG or PDF (available to all paid plans). For more information on the different pricing plans, click here.
And that's it! You've successfully created and customized your first bar chart.